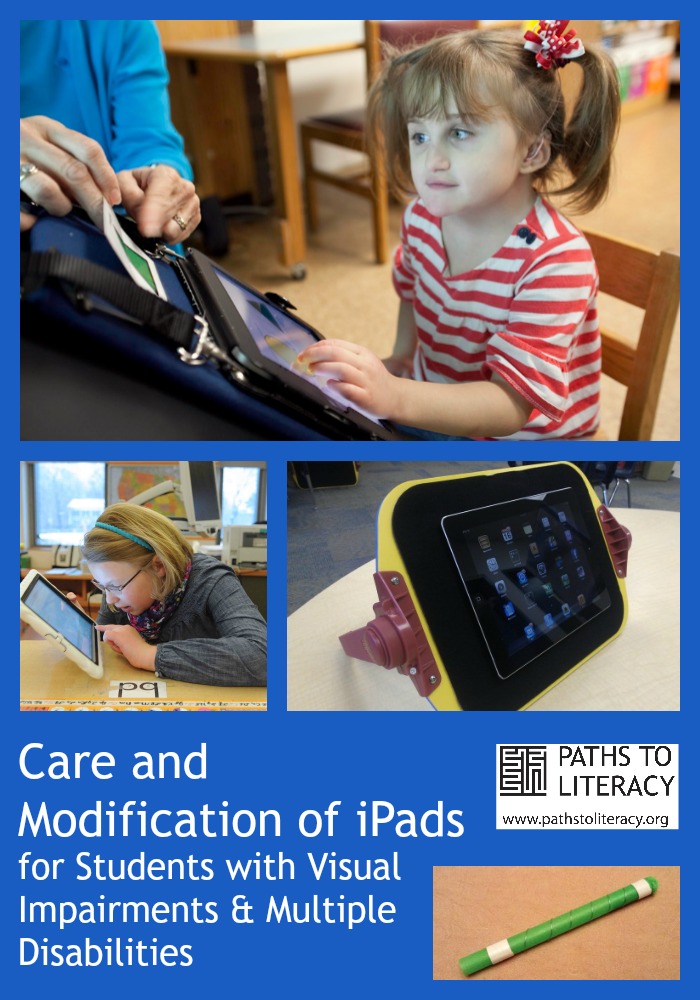
Care and Modification of iPads for Students with Visual Impairments & Multiple Disabilities
Submitted by Linda Mamer on Dec 02, 2014
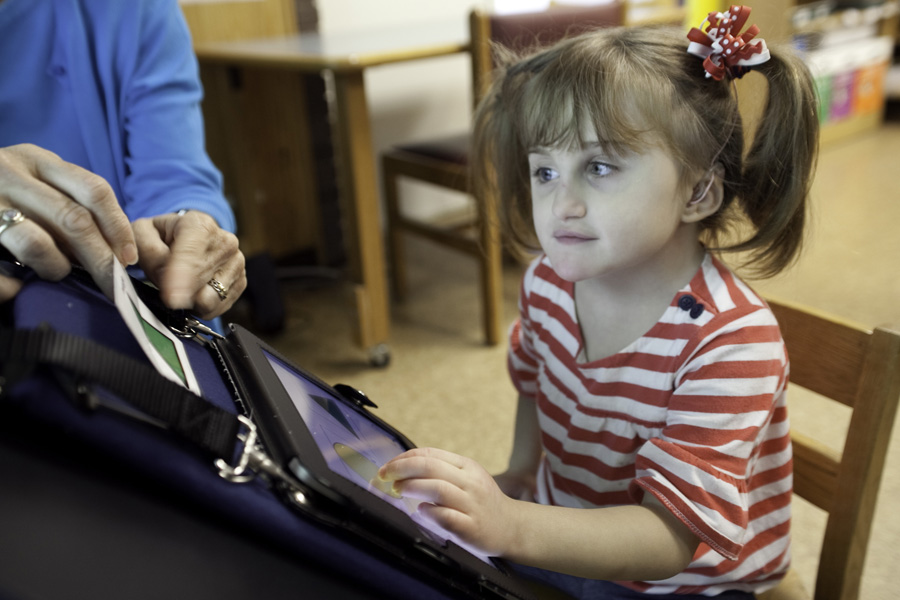
This post presents discussion points for the use of the iPad with students who are blind or visually impaired, including those who are deafblind or who have multiple disabilities. Also included are iPad cases and adaptive equipment, and directions to create your own DIY iPad stylus.
Discussion Points for the Use of the iPad
The adult needs to know the device and the program first. Learning with the student or child may work, but it could be difficult or frustrating and has the potential to affect the student’s comfort level.
Rules
- How much time do you think is appropriate from a parent’s / teacher’s perspective on different areas of the iPad – games, social media, reading, etc.?
Purchasing of the Device
- Can the child develop some advocacy skills in this area?
- Can the student raise some of the funds for this?
- Perhaps the student can research which iDevice is appropriate.
- Can the child articulate / demonstrate why they need one?
iTunes / Apps
- discussion of the purchasing of apps – who pays? And for what? Can we build in a level of responsibility for this?
Care
- Is there a regular place to keep the iPad? At home? At school?
- Charging: Whose responsibility is this?
- Cleaning: Can the child be responsible for some or all of the regular cleaning?
- Manners: When someone is speaking to you, turn the iDevice off or close the lid.
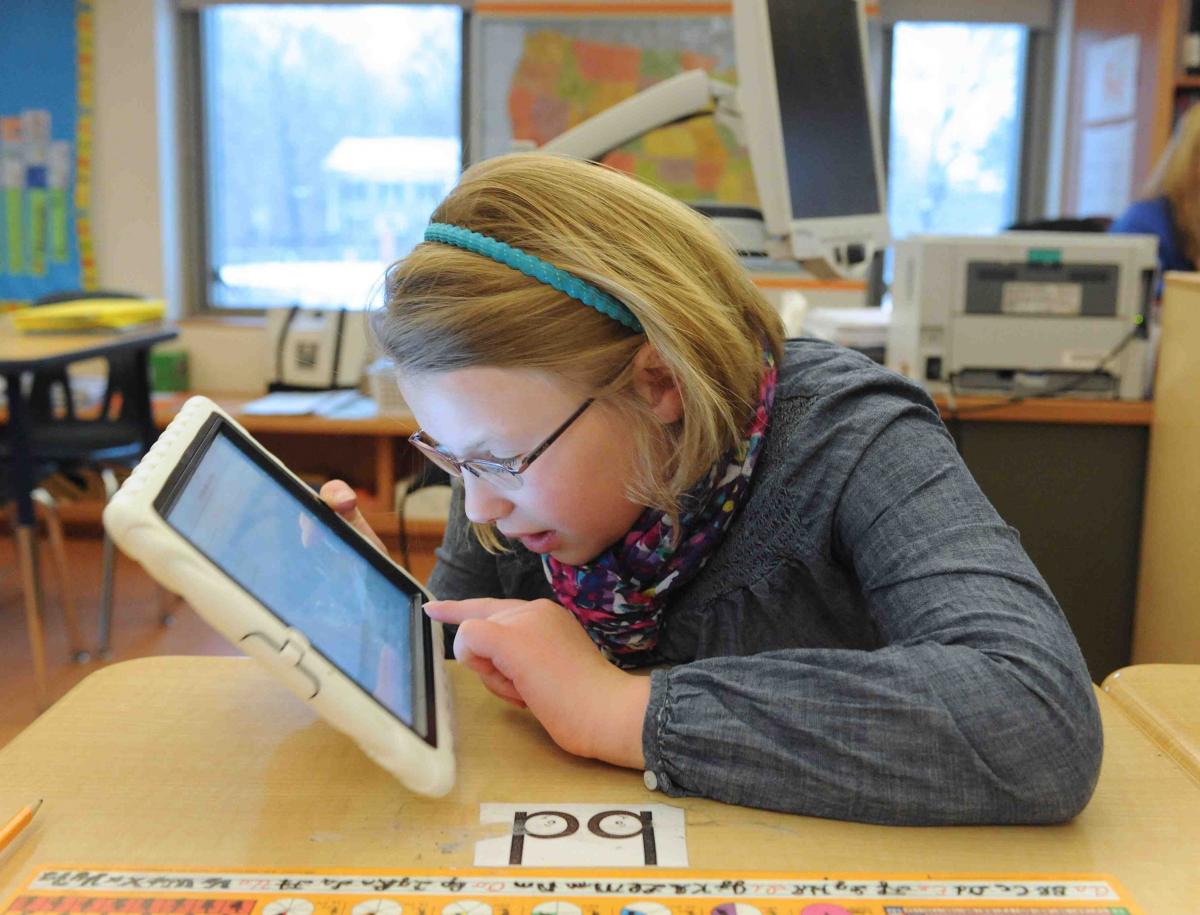
- Posture – leaning into (or down to) the iPad is common with students with a visual impairment – expectations as to the use of a slant as part of the case / slant board / reading stand.
Safety of the iPad
- How will we keep it safe from falling?
- How will we keep it safe form being stolen?
- Learning about “find my phone”
- Learning about passwords
- Label the iPad / can engrave it
- Label the cords
- Check into home insurance for coverage
Bedtime
- The lights from a screen can affect the ability to fall asleep. What is a reasonable time to put the devices away?
iPad Cases
It is very important when picking a case or holder that the Intervenor’s style and needs are considered. It may take a few different cases to get the right fit. A holder might work for a few months and then need to be changed. For example, one of our students was in a wheelchair / walker and the modular hose worked well. Then he became more mobile and we needed something that was portable.

Things that might need to be considered:
-
safety of iPad (might it be knocked or fall?)
-
will only the adult have physical access to carrying it?
-
do we want the child to have access to the iPad? (this could also be a stage that may come later)
-
what is the Intervenor comfortable carrying?
-
is the child in a wheelchair some or all of the day?
-
how mobile is the child?
Holders that we have found to be good:
iPad Stylus
Danita Kwong offers these additional reasons for using an iPad stylus:
- It is helpful for students with fine motor difficulties who cannot isolate/stick out one finger and the other fingers get in the way, but they are able to hold a stylus in some way.
- Sometimes the rest of the fingers/hand get in the way of seeing what you are doing and using a stylus allows the user to see more of the iPad screen.
- Some students simply don't want to touch the iPad screen with their own finger due to sensory issues but are willing to hold onto something that can be used to control the app instead.
- An Intervenor said that her student started to understand the idea of using one finger through the use of his stylus!
DIY iPad Stylus
Click here to download directions by Danita Kwong.
1
You will need an extra wide straw (bubble tea straw), a piece of sponge (thicker than the straw), wire, duct tape, scissors, and water.
|
2
Soak the sponge with water, squeeze it out hard, then twist and push it in one end of the straw – leave some of it sticking out.
|
3
Trim the sponge tip with the scissors until it is the shape you want.
|
4
Cut off a piece of wire that is approximately double the length of the straw. Insert about one inch of the wire between the sponge and the wall of the straw.
|
5
Tape down the wire at the tip, then tightly wrap it around the straw and tape down the other end...
|
6
...DONE!
|
Comments
Stylus Directions
making the stylus
Thanks!
Helpful info!
Protective iPad case
IPad Holder
All-in-one Board