Christmas Tree Project
Submitted by Liz Eagan on Dec 16, 2014
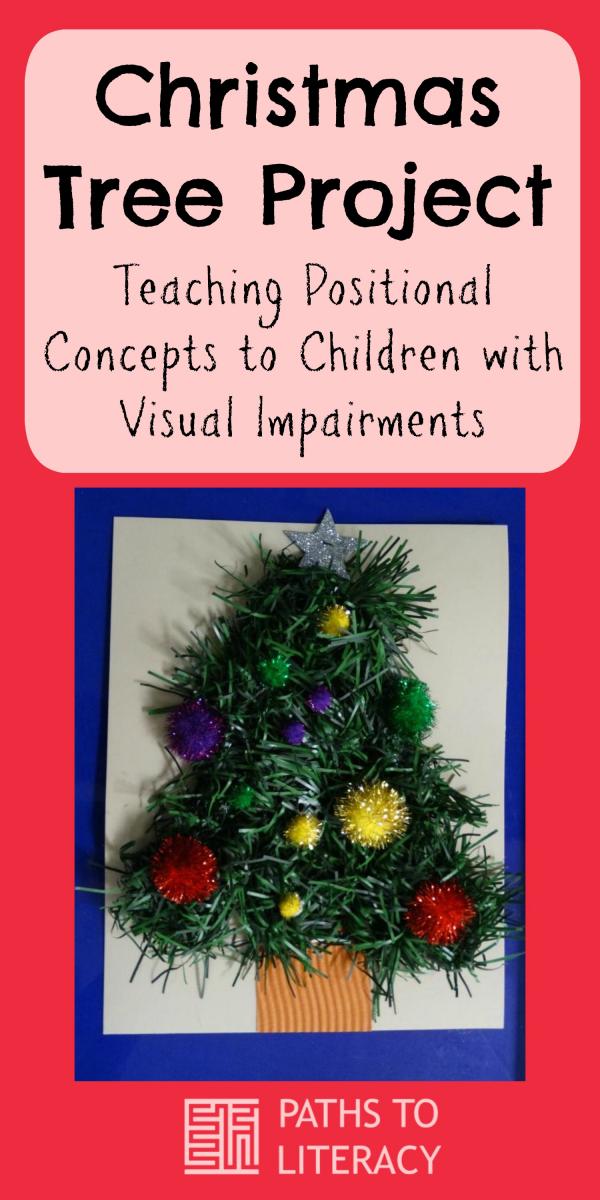
In an attempt to change up routines of learning directional terms in our prebraille activities or reteaching of those concepts, I created Christmas trees for the students to decorate using the directional terms of left/right, top/bottom, and center. This activity also teaches students with visual impairments about creating their own tactile graphic.
The work that I did prior to the lesson involved buying Christmas garland that was as near to the feel of a tree as possible. I then used plastic sheets with a triangle drawn on them. The plastic sheets are from cheap binders that are bendable that I've cut the binding piece out. I put the base of the tree on...corrugated brown paper. This you can use the double-sided adhesive from the APH kit, a Xyron machine (sticker maker), or stick glue. I then hot glued the garland down in the triangle area to make it look similar to a Christmas tree.
The students were given pompoms with silver strands in them to decorate their tree, as well as a sticker star to place at the top. Elmer's glue was used to attach the pompoms to the tree.
The students LOVED the activity! There was much laughter and smiles while they decorated the tree using the positional directions I gave them. They were free to use which ever size pom pom they chose to use.
Side note: had I more time, I would have driven into the city to purchase premade gift stickers or made my own. Then we could have added under as well to the activity.
Pictured are the images of a tree prior to being decorated and 4 finished trees. The one on the red plastic tree is one that three students worked on to give to the Special Ed department from the VI Department. I added pictures of the students working on the tree to share with the department.


Comments
Lovely Tree
Re: Lovely Tree