Making Writing Meaningful Using Real Activities and PowerPoint
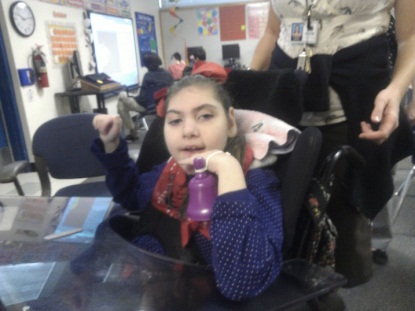 Kids with visual and multiple disabilities often struggle with writing. Let’s face it, these students often struggle with being effective communicators, much less with being effective writers! In the maze of challenges our students face, how can we as teachers work on both communication and writing in a way that is meaningful as well as motivating?
Writing activities with kids who have multiple and visual impairments need to have 3 components. 1) Students need a purpose for writing beyond simply “the teacher told me to.” 2) Students need real, hands-on and multi-sensory experiences to write about. 3) Students need a way to effectively communicate what they want to write.
- Write for a purpose - My students and I write lots of books together. They then read and share these books with their class, friends, and families. Making books gives us a reason to write that is meaningful. I love to use PowerPoint to create books because it is fast and easy, you can view them on a Smartboard, and you can easily print them out to share.
- Do a real multi-sensory activity – use hands-on, sensory-based experiences as a basis for writing. First, spend plenty of time DOING the activity. Think fun, think messy, think yummy here – play dough, cooking, playing instruments, even think gross. Take pictures when you’re doing it. Model language that you’d like the students to use later during the writing part of the activity.
- Write by communicating - most of these students can’t physically write with a pencil, so have them write by telling you what they want to write down. This gives the students another reason to use their communication system – whether it is low tech icons, a communication book, an AAC device, or objects.
For me, this process takes 3-5 lessons. We DO one day, talk about it next, draft over the next few lessons, and then make our final draft. I like to use fill-in-the blank style sentence frames for students to write. If we just 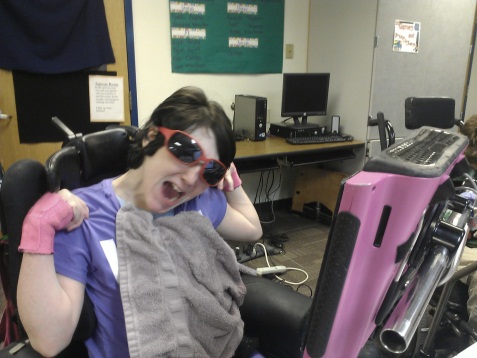 made smoothies, my frame might look like one of these:
We made smoothies. They were ___________________. I liked ___________. I hated __________. I felt ___________ about the smoothies.
OR a simpler one– Smoothies, _______. Smoothies, ________. I say _________.
Notice, I never asked the kids to write a sentence where I am asking for failure, such as “We made ___.” If they write anything other than the word “smoothies”, that sentence is wrong. When you write with students, don’t make it into a test. Make it another way to tell someone about their experience. This is one of the keys to making writing meaningful.
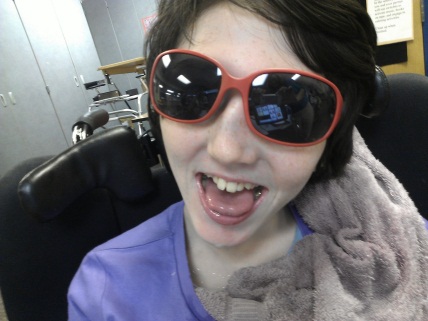 Here’s a funny example –We were writing about sunglasses and I gave my student who has an AAC device this sentence as a part of a sentence frame: “My name is ____.” (See how I broke my own rule…) She wrote “huh?” from her “say something funny” page instead of writing her name, which trust me she knows how to say. Then she laughed about as hard as I have seen. So, I left her writing as “My name is huh?” and reminded myself – hey, it’s not a test!
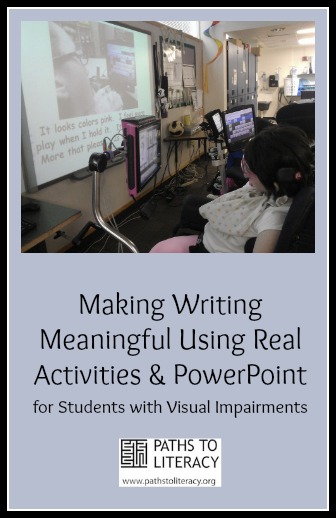
So, I’ve barely mentioned PowerPoint… This comes in as a part of the Final Draft. Once the kids have done the activity, talked about it, and written about it, then we make our book. I use a PowerPoint Template (PPT Template 72pt) to quickly create a book that can be read on the computer, viewed on the Smartboard, or printed out. Each page gets a picture from our actual activity, along with the words the students wrote. Using the sentence frame with multiple students’ writing also creates a repeating pattern that supports indep endent reading. By using the pre-made PowerPoint Template, you can create an electronic book very quickly. Trust me; I don’t have time to do anything that takes long hours to create!
PART 2
Now that you’ve created your class book in PowerPoint, you can use it in tons of ways:
- Turn the pages with switches. In Presentation Mode, set your switch interface to <right arrow> and <left arrow> to go forwards and back.
- Record an audio file (within PowerPoint) of your students reading the pages they wrote - now you have a book with audio features as well. While this is very cool, it takes time. I only do this on special occasions.
-
Use a step-by-step so students can read the book to a friend or teacher. Work on the student timing their switch activation with your page turns.
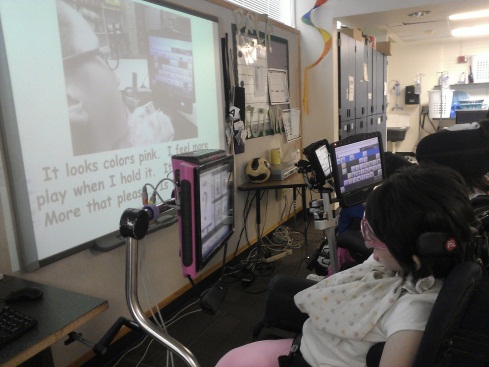
- Print out a hard copy of the book for the class. Print full page slides for a large book, or two slides per page for a smaller one. Bind. Read & enjoy without the computer.
- Print out small books for the kids to take home and share with their families.
- Ask the students questions about the book. Think communicating rather than testing here… “What was your favorite page & why?” or “How did this part make you feel?”
- Revisit the book later and do a “re-write.” This is a time saver for the teacher and allows for versions of the same book idea at multiple literacy levels. Use the exact same PowerPoint file & pictures you created, do a “Save-As”, and then erase the text. Have students re-write new words for the pages. This really helps support the wide variety of levels of communication and literacy skills present in a single classroom of kids with multiple and visual disabilities.
Note: You can also use PowerTalk for automatic speech with PowerPoint presentations.

Comments
PowerTalk and another Site with books
Power Talk