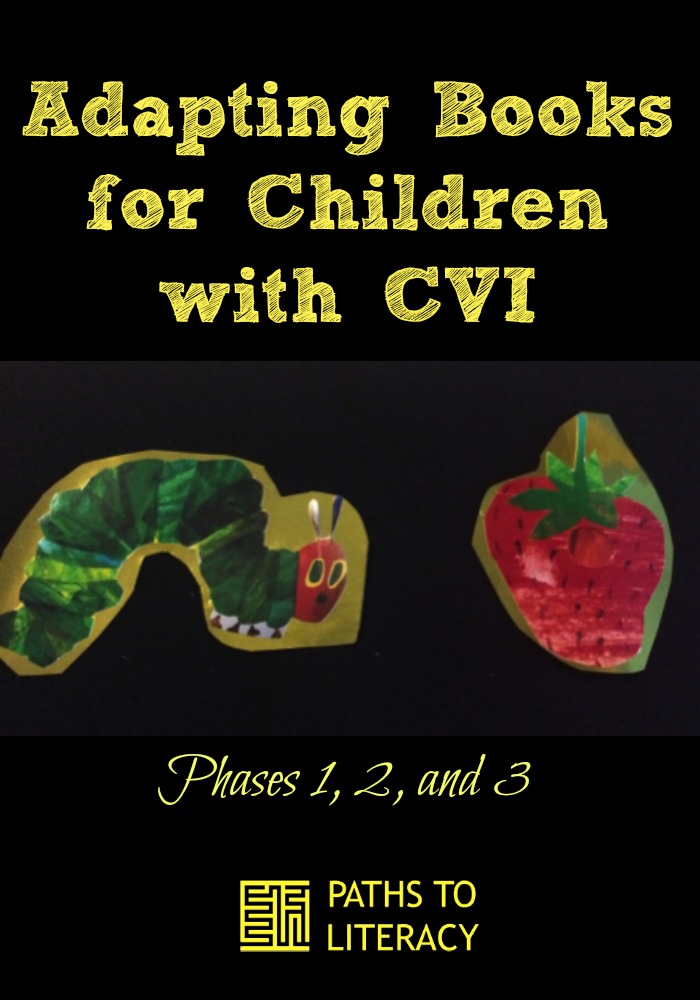
Adapting Books For Children With CVI At All 3 Phases
Introduction:
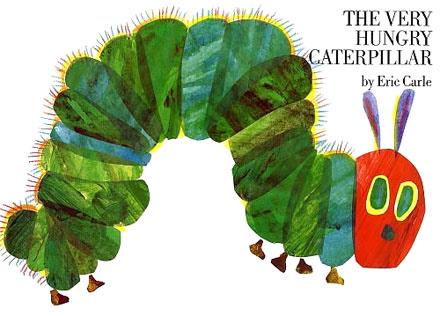
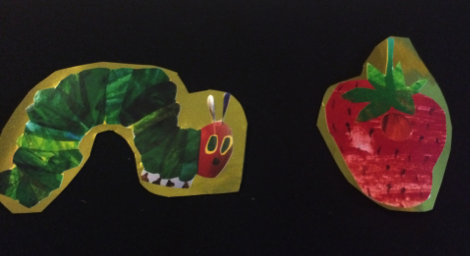
For my Cortical Visual Impairment mentor training we were assigned to adapt a book for all three phases of CVI. I chose The Very Hungry Caterpillar because I have several classes reading this book through the end of the school year. I wanted to adapt something that could actually be used with my students. The two classes with Phase I, II, and III students are both self-contained moderate/severe or severe/profound classrooms.
*All three phase adaptations would have a script for salient features of each item from the book. The salient features of an object are the defining facts or qualities about that object such as an apple being red, round and having a brown stem or a caterpillar being small, green, and soft. The team working with a child would decide upon specific salient features of each object or picture presented to a student and would all be sure to describe these salient features in the same way for consistency.
Phase I Adaptation:
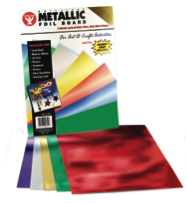
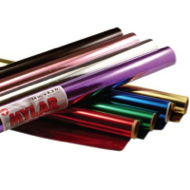
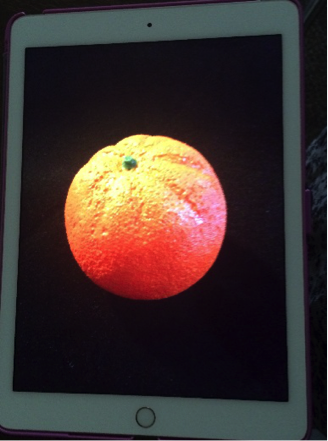
For a low phase I child you can do one of three things (remember to focus on only one sense at a time with a CVI child!). Dr. Roman-Lantzy recommended using shiny/mylar paper in the colors of the fruits and presenting them one at a time to the student and stating that “an apple is red” or “an orange is orange” and so on. This paper is readily available and can be found inexpensively at the Dollar Tree. You can use sheets found in the craft section, wrapping paper, “tissue” paper, or even gift bags.


Begin by using real objects, such as real fruits and vegetables. Allow the child to explore these tactually and visually, perhaps to taste them, cook with them, etc., so that the items have meaning.

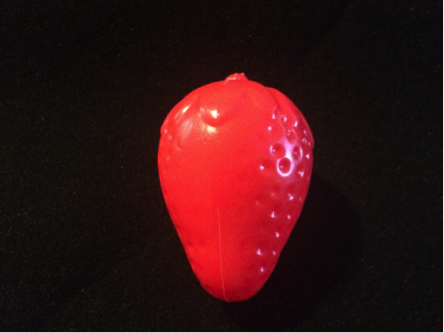
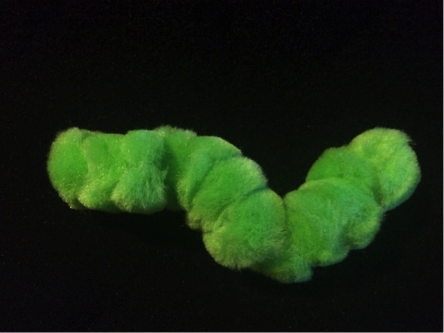
They could also either utilize another single sense during story time, either by only tactually exploring the object or listening to the objects salient features described. For this purpose, I located real-like 3-D objects to represent each of the items from the book.

In the early stages of Phase I, these will be too difficult for the child as they will be not be able to visually attend to more than one or two single solid preferred colors and multi-colored objects will be too complex. Begin with the objects that are single color and in their preferred color such as the strawberry or caterpillar. As they begin to recognize additional colors, you could begin to incorporate more of the 3D representations. Each will be presented against a solid black background with light shown on them or by putting them on a light box in a lower lit room.
Phase II
Phase III


I then made black card stock “windows” of differing sizes to be able to block out the rest of the page and focus in on one illustration. The teacher would begin by using only the adapted book and then begin to incorporate transitioning to the actual book using the window to show the student where the item is on the page. This would hopefully help them learn to locate the item on the original page. Again, be careful of glare if laminating materials.


Happy book adapting!
Comments
Tracey, this is a very