Using the Motionleap App to Animate Salient Features

The Motionleap app is designed to perk up your still photos with animations, overlays, and effects that simulate motion. I originally downloaded it to put some pop into my vacation photos. Eventually I realized it could be a great tool to add the element of movement to the salient features of words. I have a group of students who have CVI and various co-occurring disabilities. Use of repeated verbal explanations of the salient features of words was causing me to lose their attention and slowing down group lessons. For those who can visually access words on backlit devices, I decided to use Motionleap to animate the salient features to draw their visual attention to them, as well as to allow the students to develop a clearer understanding of what the verbal explanations of the features meant.
Motionleap App Info
- Apple App Store (iPhone and iPad)
- Google Play Store
Both of these apps are free to download, but in order to use the “Animate” feature, it is necessary to buy a subscription through an in-app purchase. There are various price points relative to the length of each subscription.
Examples
The examples below show a GIF of words with red word bubbling that are animated.



I use Roman Word Bubbling to make the desired words and save them as image files. I upload those images to a Google drive folder so I can access them from the iPad/iPhone. Motionleap only opens photos from the camera roll, so I just download from Google drive to my device.
Step-by-Step Instructions
- Once you have the app on your device, simply open it and tap the “photos” icon.
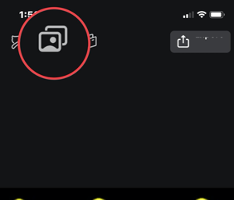
- Next, tap the “New Project” banner at the top of the screen.
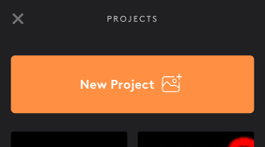
- Choose a photo from your camera roll.

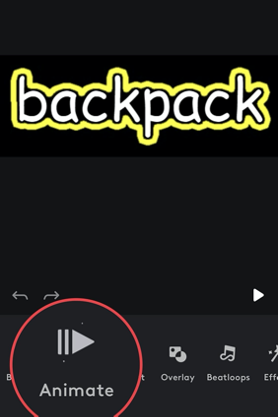
- Tap “Animate” from the menu at the bottom of the screen.
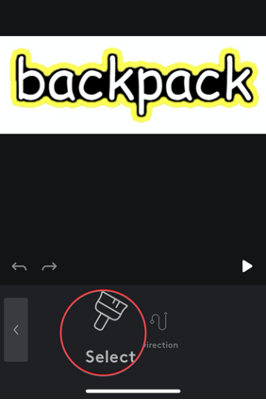
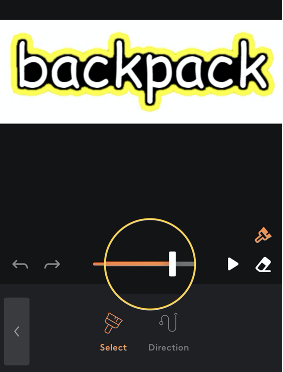
- Tap the “Select” icon (looks like a paintbrush) at the bottom of the screen.
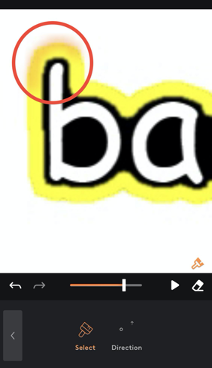
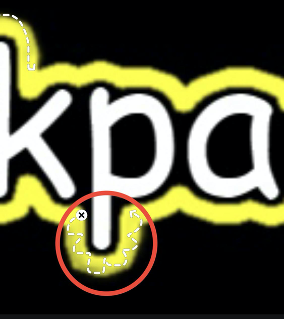
- Use a stylus (for greater precision) to mark the areas of the word you want to animate. Use the slider to control the thickness of your line. Note the eraser tool next to the “play” button.”
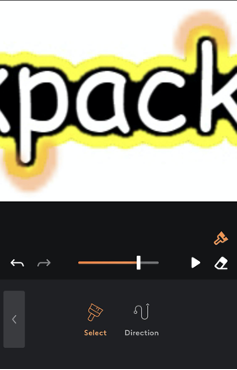
- Tap the “Direction” icon at the bottom of the screen.
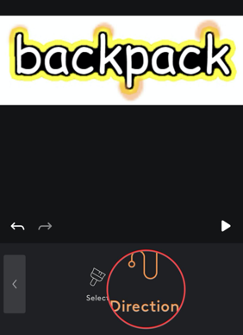
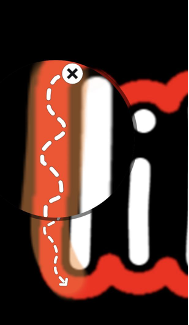
- Use your stylus to trace the direction you want the movement to go. Important tip: When animating a straight line, for example, the “l” in “like,” make a bumpy or zigzag line rather than a straight line. A straight directional line doesn’t produce as much noticeable movement as a curvy or zigzag line does. Similarly, use a curve or zigzag when marking the direction on curved letters.
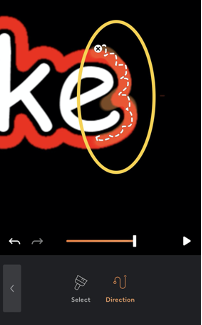
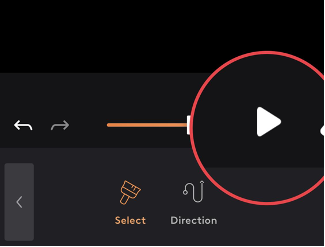
- Tap the “Play” icon in the lower quarter of the screen on the right side to see your results. To see the word move without the white dotted lines showing, tap the “Select” icon first.
- Use the “Select,” “Direction,” and eraser to make any desired changes. When you are satisfied with the animation, simply tap anywhere on the work area of the screen (i.e., not where any icons are).
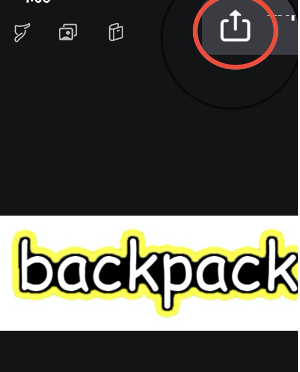
- Tap the “Send” icon to bring up the “Export” screen. Your animation can be saved as a video or a GIF in a variety of sizes and image qualities.
- Choose “Video” or “GIF”, then tap “Export” to save to your camera roll.
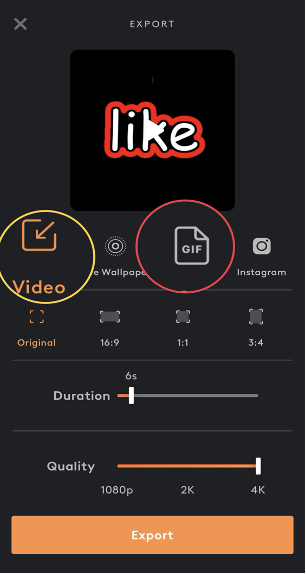
Tip: Animations saved as a video will need to have the “play” button tapped when you use them in your lessons. You can choose how many seconds the video plays on the Export screen after tapping the “Video” icon. Animations saved as GIFs play continuously, like the example in the first photo of this post. Save in whichever format serves the purpose of your lesson and your students’ individual needs.
Like the word bubbling itself, the animations can be phased out as students learn to consistently recognize each word.
