Make Your Own Tactile Memory Game
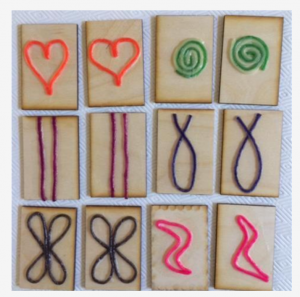
Build a Better Book recently held a training for people interested in Makerspaces to create inclusive media, such as picture books, games, and graphics. Families, teachers, and students worked together to create accessible materials.
Background on Build a Better Book
The Build a Better Book project, based at the University of Colorado Boulder, works with school and library Makerspaces to engage youth in the design and fabrication of accessible picture books and graphics. Using both low- and high-tech Makerspace tools, such as 3D printers, laser cutters, Makey Makeys, conductive boards and craft materials, youth design, fabricate, test and refine multi-modal books, games and STEM graphics that incorporate tactile and audio features. These products are designed by and for learners with visual impairments as well as other physical and learning disabilities. Through the Build a Better Book initiative, middle and high school youth develop technology skills and learn about STEM careers as they design and create accessible, multi-modal picture books, graphics and games that can be seen, touched and heard!
Motivated by a Need for Inclusive Games
We initially developed the Tactile Memory game in collaboration with several families with tweens and teens who were blind or visually impaired. One mom (of a then 12-year-old) had mentioned to us that it would be fun for her daughter and some of her friends to work on creating games, not just books. She mentioned that they had a hard time finding games that worked well to play as a family, and that it would be fun to have more games that all family members, regardless of vision, could play together. We decided to start with Memory, as a simple game that could be fabricated with basic materials. This is a hand-crafted version that uses readily accessible materials.
Design Criteria
When thinking about how to make an effective Tactile Memory game, remember:
- Shapes/objects should be the same height off the board so that height is not a distinguishing factor.
- Shapes should be easily distinguished from each other. You can use common shapes (e.g., circle, square, star, etc.) or create your own unique shapes and designs.
- Don't be afraid to use color as well so this game is fun for everyone.
- The tiles/cards should be fairly sturdy so they don't get damaged.
- You may want to add braille labels to the cards, or you could use this as a way to learn braille by having to match the shape with its braille label on a different card.
Guide to Making the Game
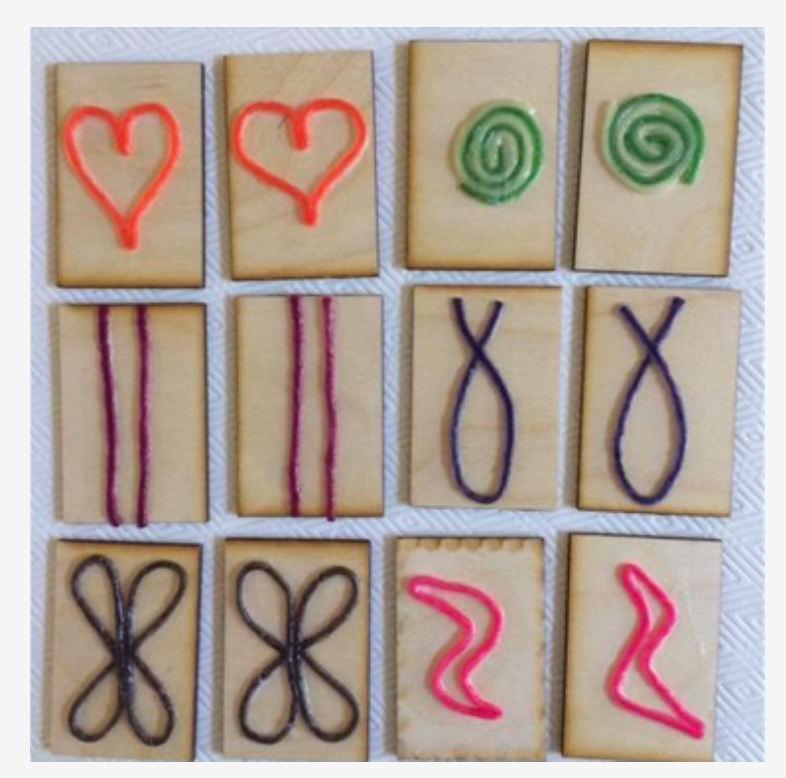
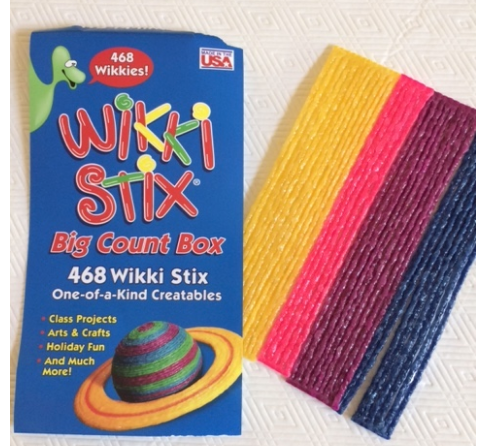
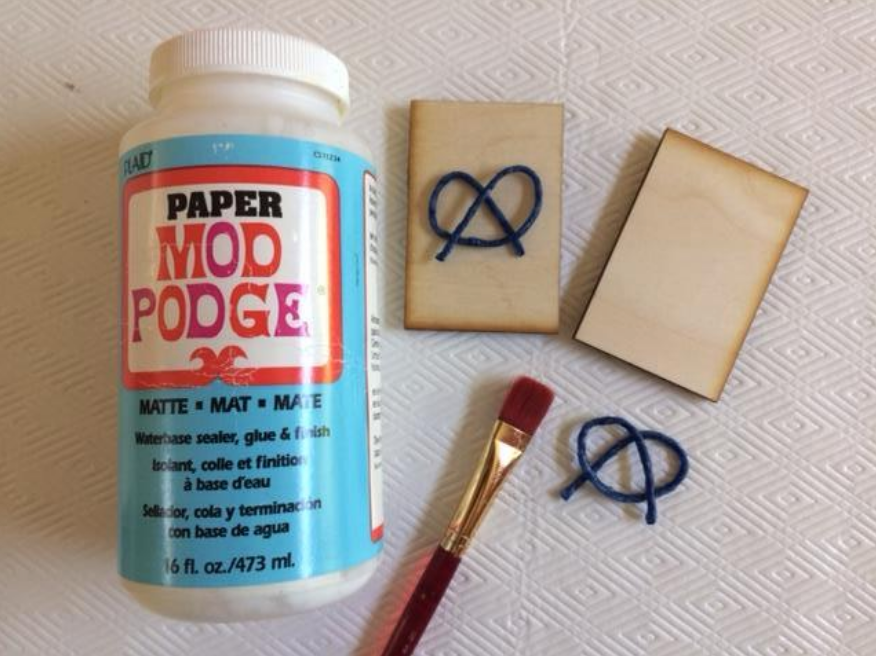
We made our first copy of the game using laser cut tiles with Wikki Stix shapes that were coated with Mod Podge in order to set the design. Our first game set was made collaboratively with the families, where each family member (parent, child, siblings) designed their own shape and then made a bunch of copies of tiles with that one shape. (Each person made 16 tiles, so that we had 8 complete sets at the end, one set for each family, along with some extra sets for Building Better Books and bldg. 61.) It was such a fun way to create a game – it was a community event where everyone (kids/adult, blind/sighted) had a chance to contribute equally to the game.
Making the Tiles
We used a laser cutter to cut rectangular 2" x 3" tiles out of a sturdy 1/8" thick craft wood. However, you could use any size or backing you'd like. Other materials that would work well for the tiles include foam core board, playing cards, or cardboard.

Making the Shapes
Use Wikki Stix to make your own designs and shapes on the Memory tiles. Make sure that the shapes you make are very different from each other so that they can be distinguished by touch. Also, make sure that you create two tiles with each shape, and that the matching shapes are the same size.
Use Mod Podge to Set the Tiles
If left uncoated, the Wikki Stix can be sticky to surfaces and also not super sticky to the tiles. We painted the tiles and shapes with Mod Podge to create a smooth surface that is nice to touch, and to effectively adhere the Wikki Stix to the tiles. This also helps to ensure that your Tactile Memory cards will last a long time!
Create Your Own
You may choose to follow our instructions or modify as you'd like. One thing we noticed after playing several games of Tactile Memory is that the tiles move around as multiple people interact with them. One thing you may want to consider is creating some sort of board for the tiles to fit into so they don't move around on the game-playing surface. This could be made with a piece of plywood or cardboard with a thin raised border around the edge.
There is also a laser-cut version of the Tactile Memory Game. Learn more.
Have fun and get creative! We'd love to hear about any designs you create.
