Using Tactile Symbols to Edit Braille Documents
Submitted by Liz Eagan on Jun 15, 2016
Editing our own writing and the writing of others is an important task that all students must learn to do during their school career. Students must learn the steps of the writing process: pre-writing, drafting, revising, editing, and publishing. Participating in each of these steps helps students become better writers.
Materials:
- Stickers from Hobby Lobby or Michaels Craft Store
Procedure:
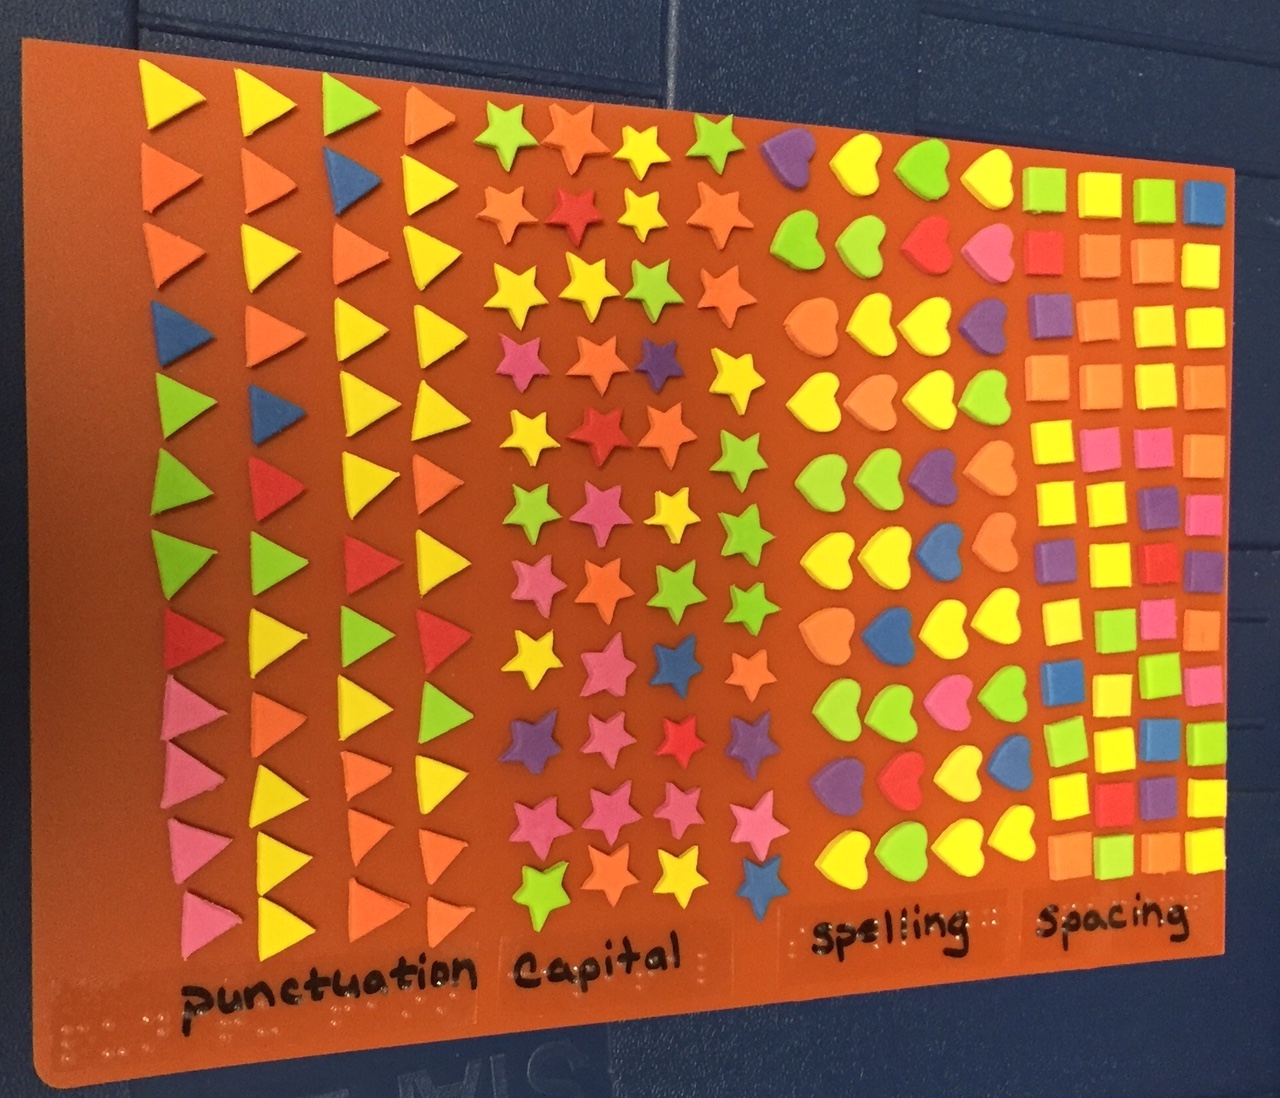
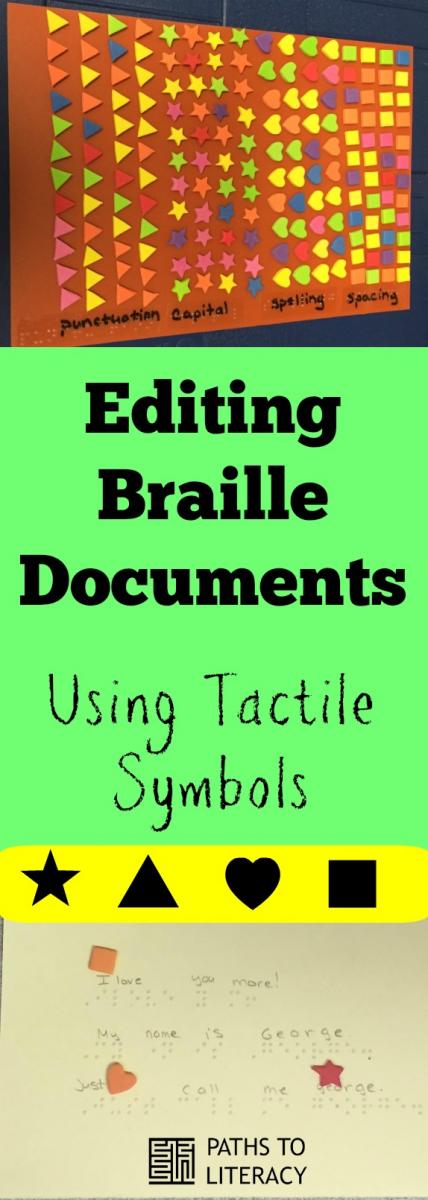
My first grade student thas been editing his work with an adult assisting him. They mark the areas that need to be corrected and then someone reads to him the corrected version to braille. This is ending today, as he will do his own editing from now on. I have introduced tactile foam stickers (available from craft stores) to indicate what type of error he has made and to cue him that it needs to be corrected.
For right now, he will focus on spacing, capitals, punctuation, and spelling as he edits. These areas are what he and I decided together to work on! He also decided to put words that could have been contracted under "spelling". The key to his editing process is as follows:
- Spacing - square
- Capitals - star
- Punctuation - triangle
- Spelling - heart (also to include when a word could be contracted)

The card has print and braille on the right side to help him remember what shape he wanted for which purpose. This is also helpful to anyone who is working with him. The classroom teacher will also be able to edit his documents and not wait for me to come in and assist her.
Here is an example of a document marked with the symbols, so that the student can edit it independently.

Comments
Text coding is always
Re: Text coding is always
Great idea!
Re: Great idea!
Yes! Thanks!