Make Your Own Textured Puzzles!
Submitted by Liamsmom on Apr 18, 2013
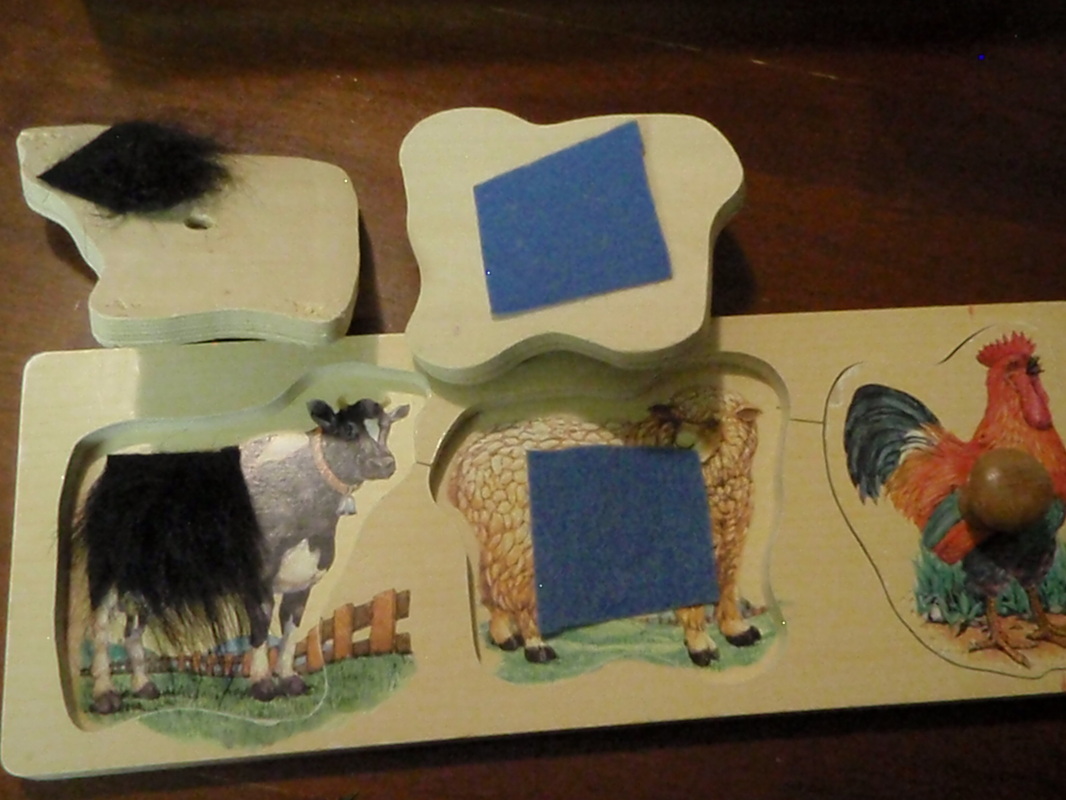
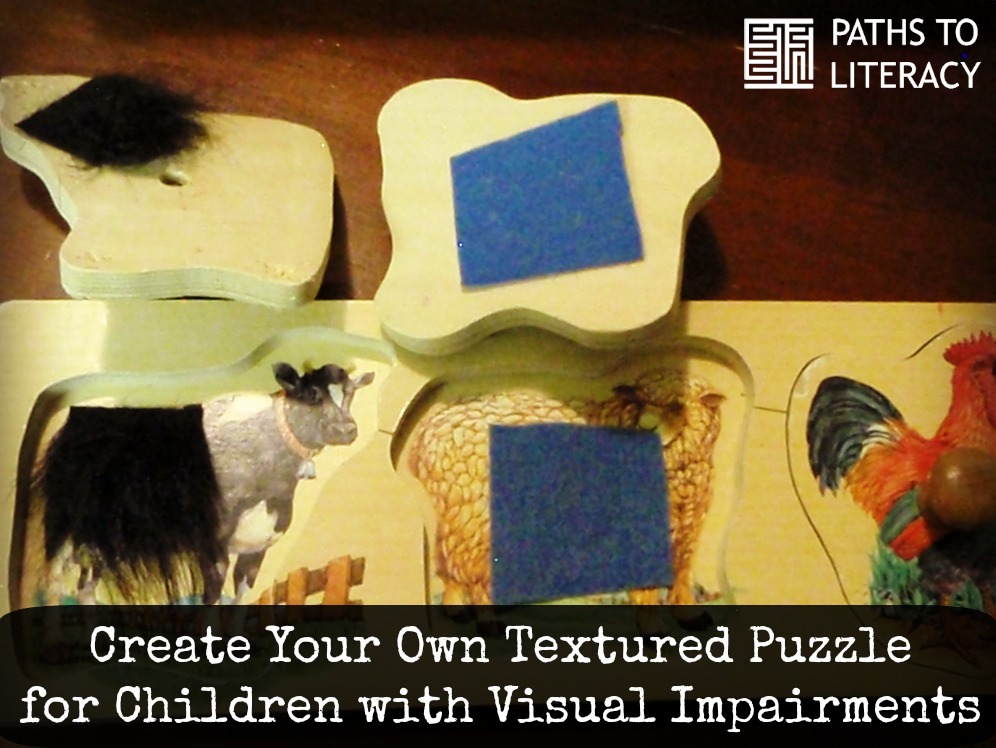
A few simple steps made puzzles a lot more interesting for my 3 year old, deaf-blind son. Most wooden puzzles are not accessible to children who are blind or visually impaired. By adding some simple textures, I was able to make these puzzles a lot more fun and interesting for my son. Matching textures is also an important skill for him to learn, and these puzzles give him practice with that.
Purpose for adding textures to a puzzle:
- interest of the child
- practice pairing textures
Materials:
Here are some examples of textures I have used for puzzles for my son:

- 'puffy paint' designs
- small beads
- folded paper
- tinfoil
- string/yarn
- fake fur
- fabric
- bubble wrap
- plastic grocery bag
- felt
- buttons
- pop tabs
- foam stickers
Procedure:

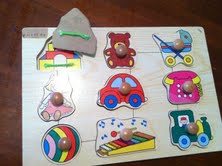
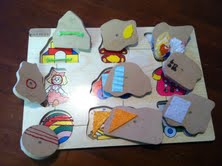
- Find a 'chunky' wooden puzzle (My son Liam likes ones with fun handles on the pieces).
- I find most of my puzzles at garage sales.
- Gather fun textures that aren't too 'thick' so that once glued onto the puzzle piece the puzzle will still lay flat.
- Take two pieces of the same texture: hot glue one piece onto the bottom of one of the puzzle pieces. Then glue the matching piece of texture onto the board where the piece belongs. Choose a different texture for one of the other pieces and continue the same as before.
Variations:
- You could glue a texture on the top of the piece instead of the bottom or add texture to both the top and the bottom of the piece as well as the board.
- Add braille labels to the puzzle piece and the empty space in the puzzle frame to work on matching words.
Comments
positioning
Good question...on