FT2S2B: Finger Positions for Beginning Braille Users

There are steps that lead a youngster to learning any skill, like learning to ride a bike or make a bed. Learning finger placement to create dots on a braillewriter is no different. Here is a method I have used for a long time-- the FT2S2B (From Table to Swing Cell to Braillewriter) method, as I call it, for beginning braille users, no matter the age.
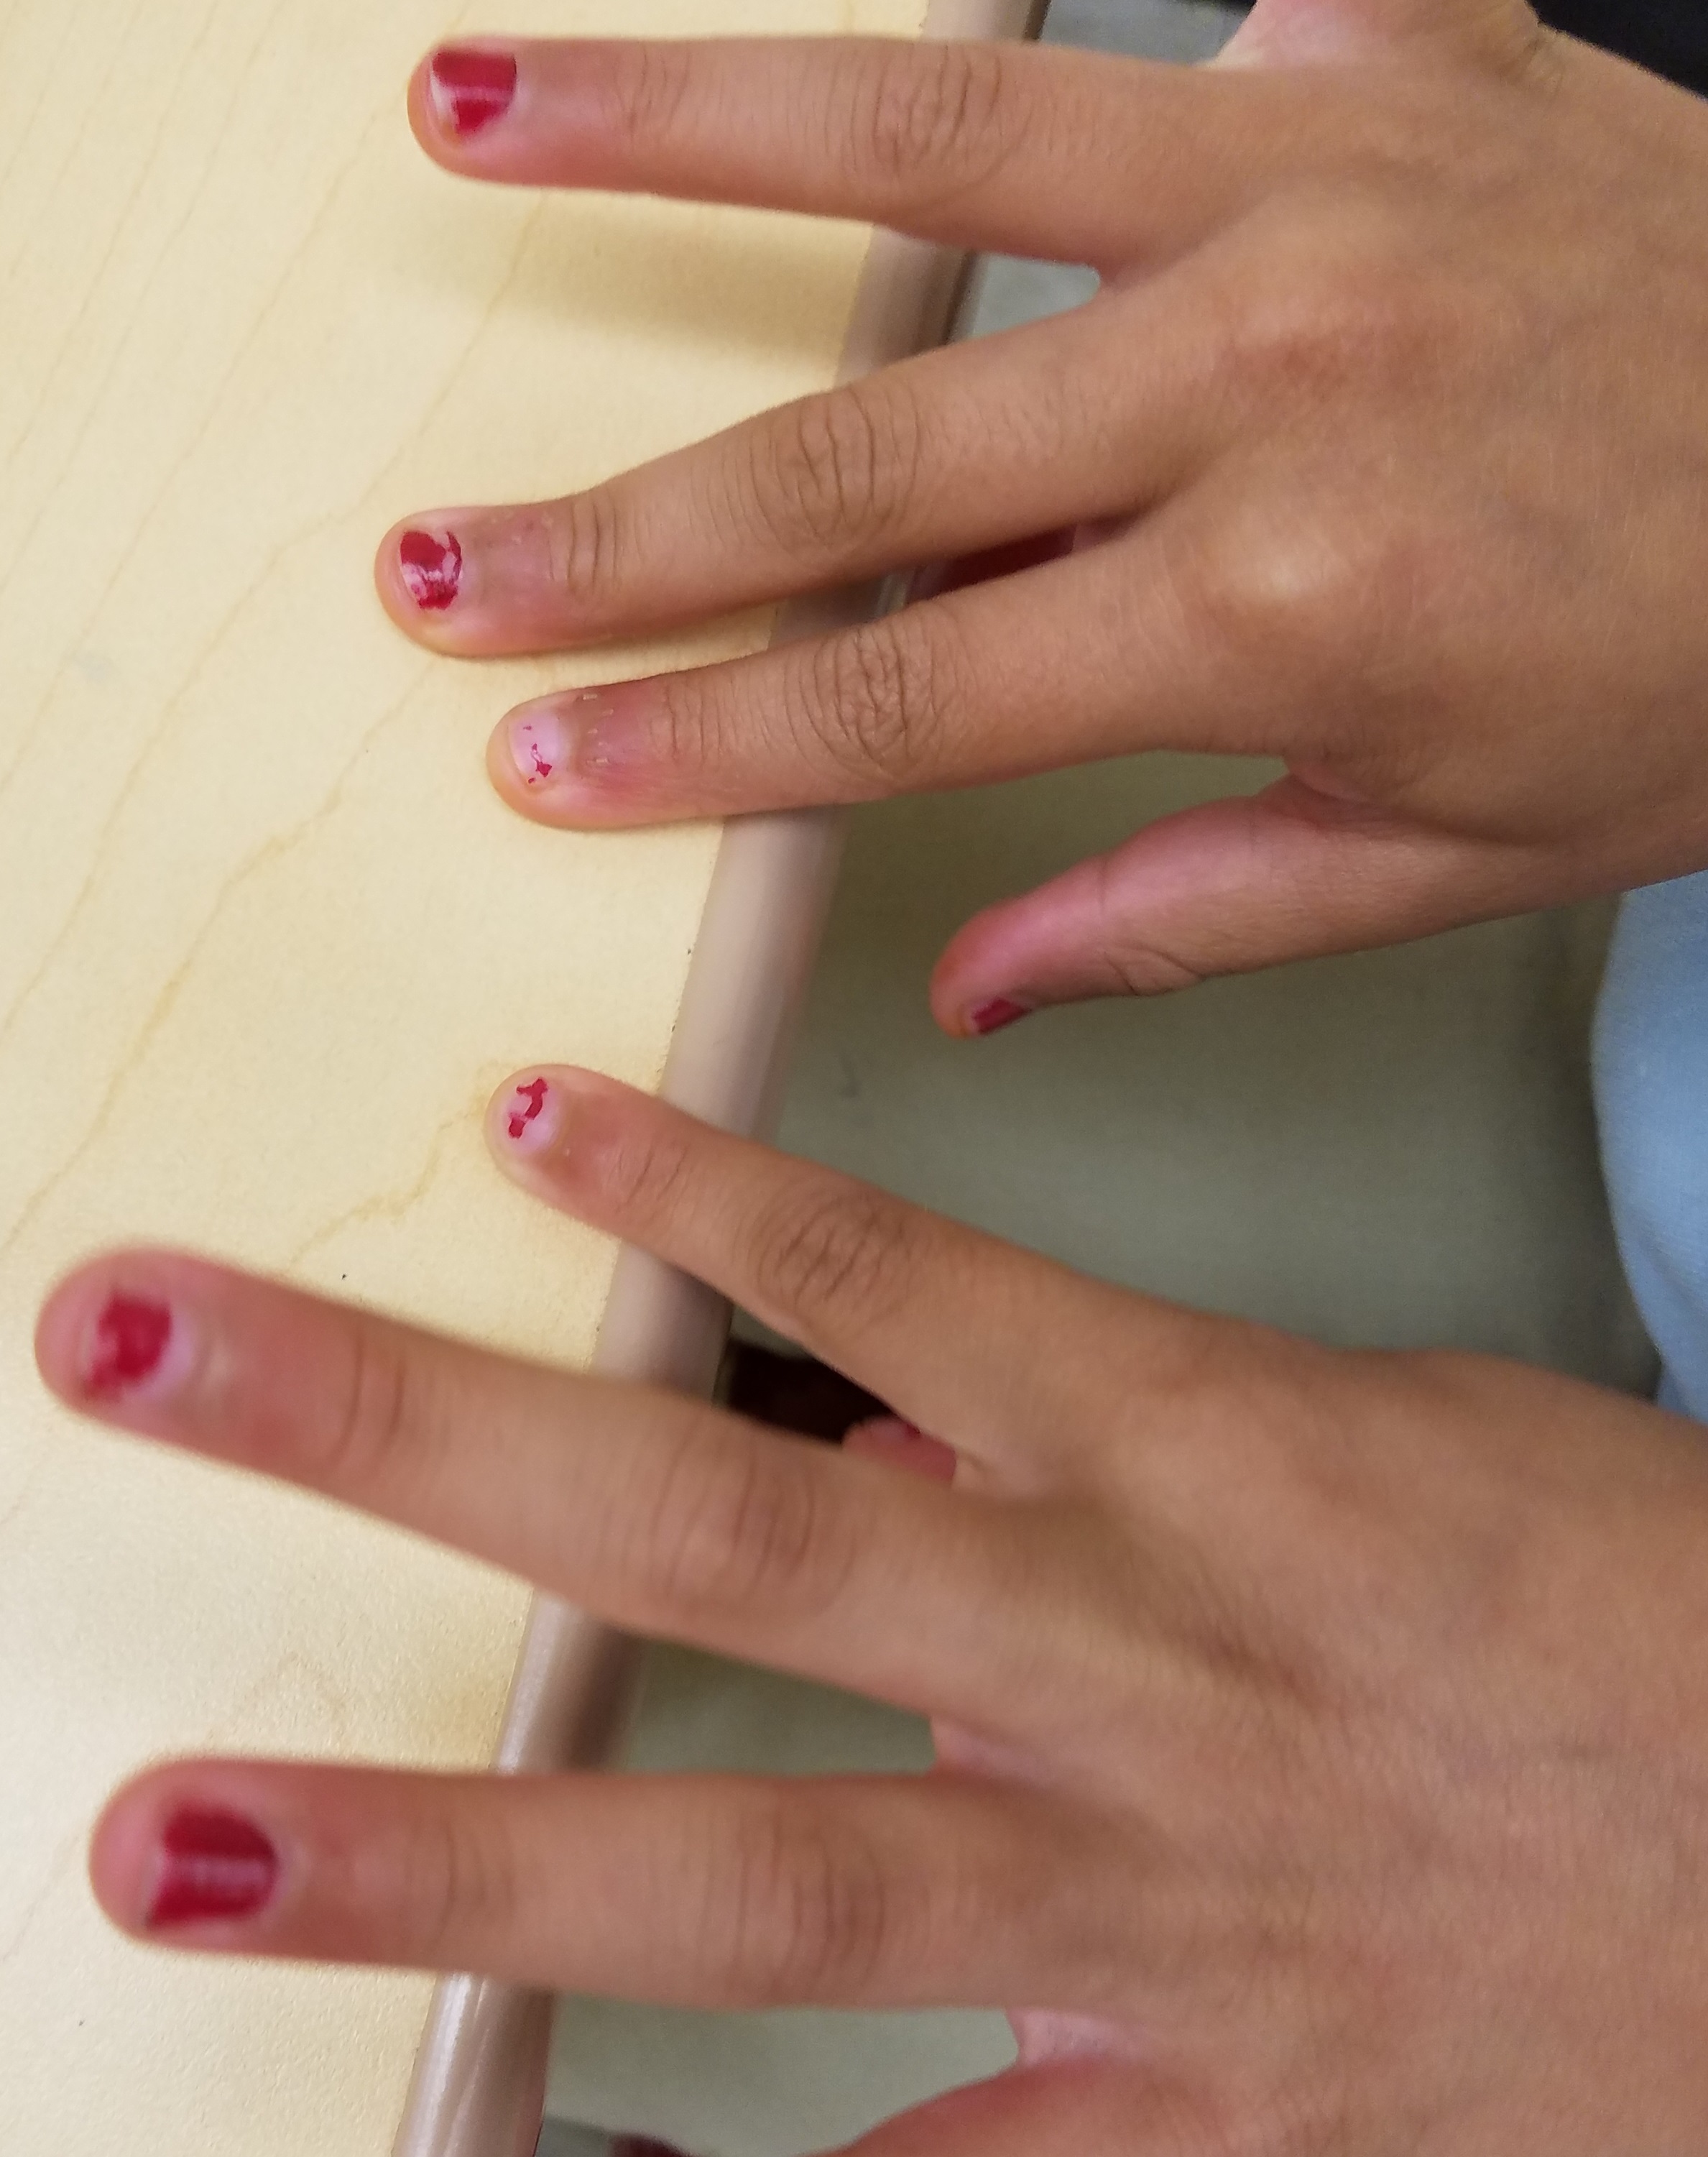
Putting Fingers in Position on Table Edge
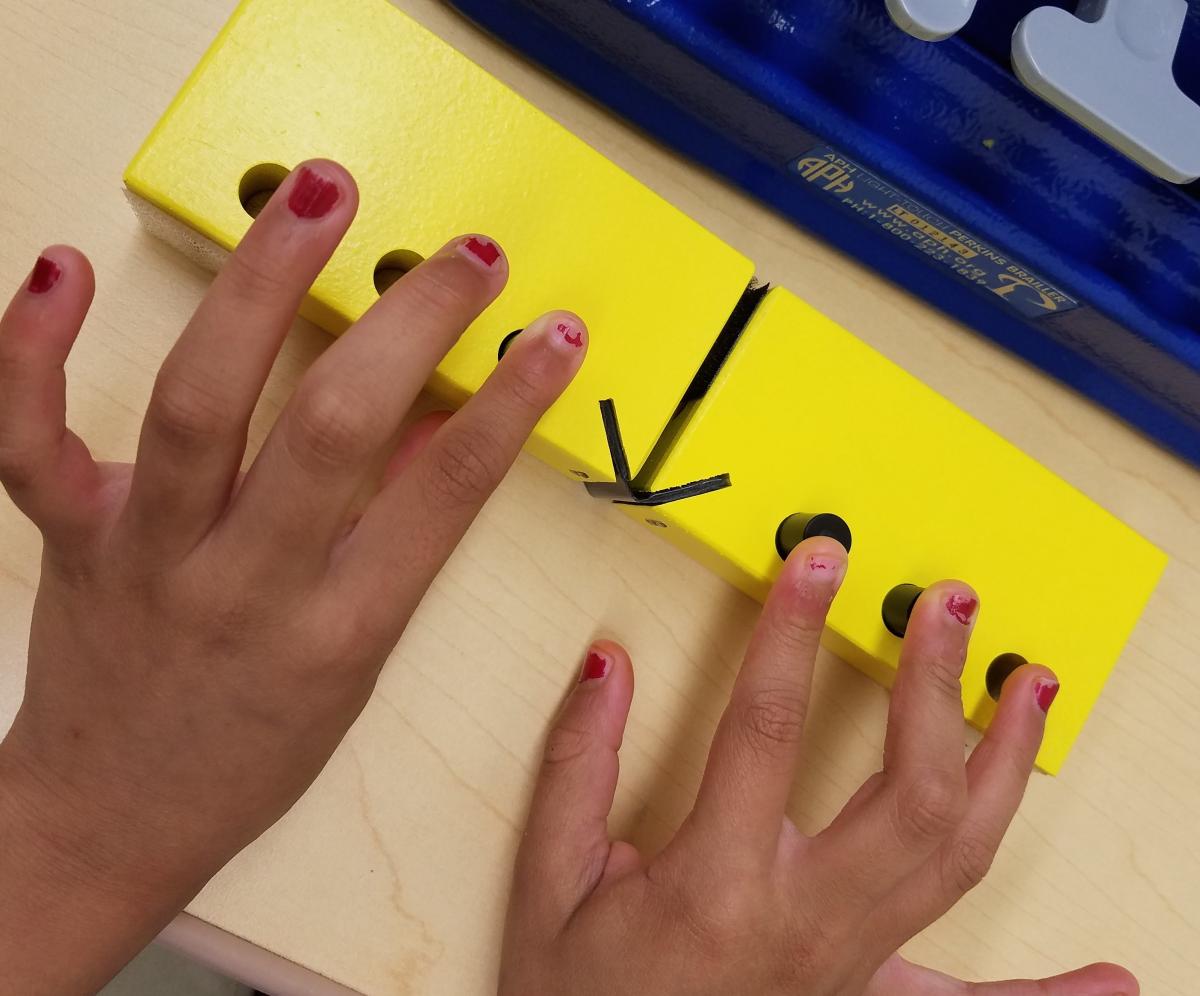
Once the student has learned a few of the dot patterns, I have the student put their braille fingers on the edge of a table and as I call out a word, such as “do”, the student will put those fingers (dot 1 finger, dot 4 finger, dot 5 finger) on the edge of the table and lift the other fingers. Then, the student will lift both hands with fingers still in position and place on the pegs of an open swing cell, saying “dots 1-4-5, do.”
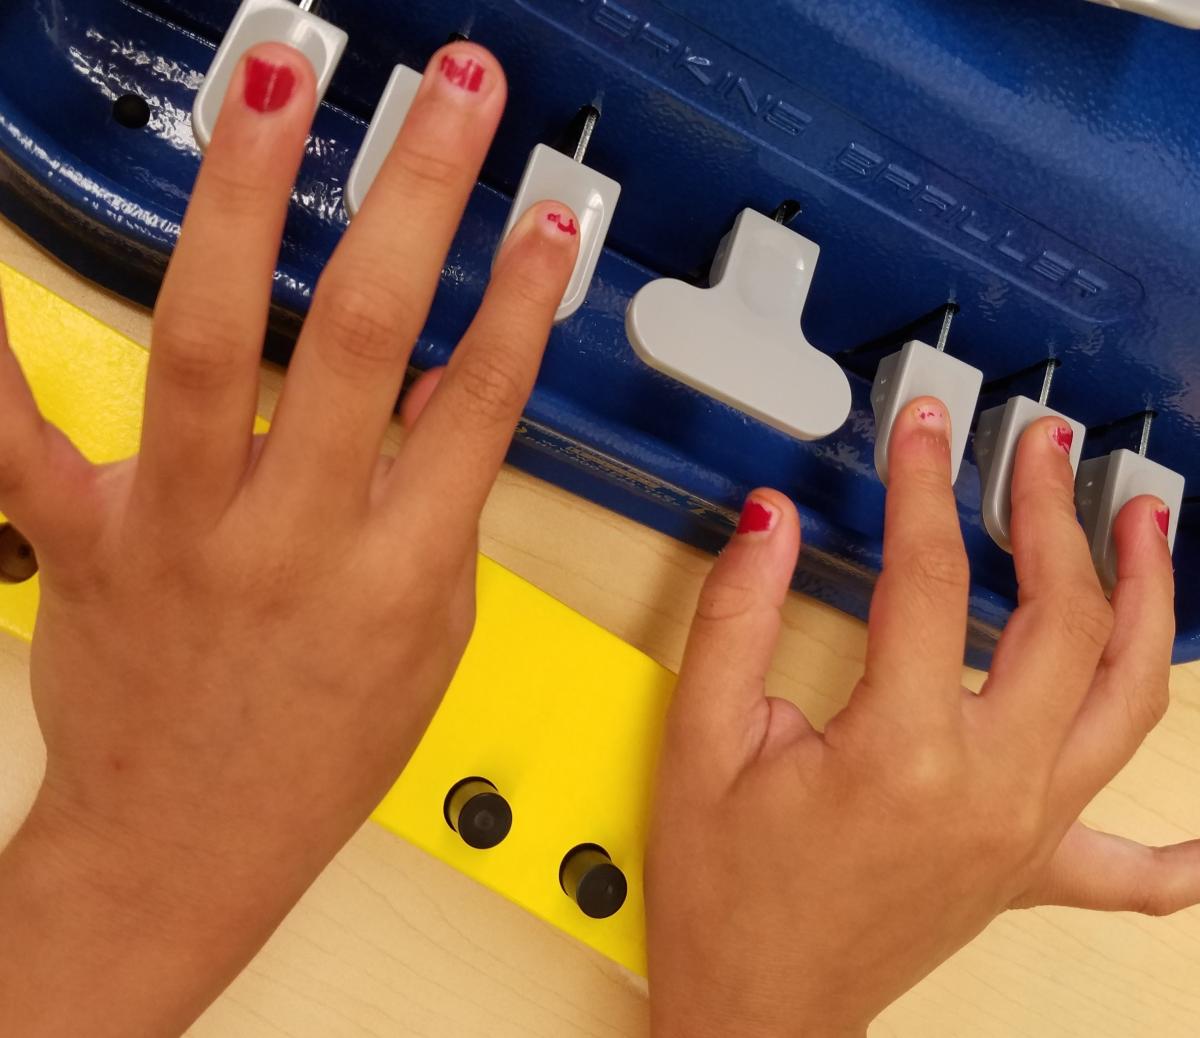
Finger positions on a Swing Cell and Braillewriter
From there, the hands are lifted and placed in the same position onto the braillewriter keys, repeating “1-4-5, do” this time actually pressing down to create the word on the braille paper. This method is used for all new words being learned, words whose dot formations aren’t “sticking in their minds”, and for proper finger placement. This reinforces the finger position, the dots are verbalized therefore, aiding in retention, and once it is brailled, the student can read the actual word on the paper.


I have been using this strategy with a kindergarten student who has had trouble with finger placement and is also unable to identify dot placement when reading. The student was so excited that her fingers actually made the word she knows! With this particular student (who is 5 years old), I tell her that the fingers on the keys are working and the others (the lifted ones) are resting. This helps her to press down only the working fingers.

