Car Braille Book
Submitted by Tracy Fitch on Mar 10, 2015
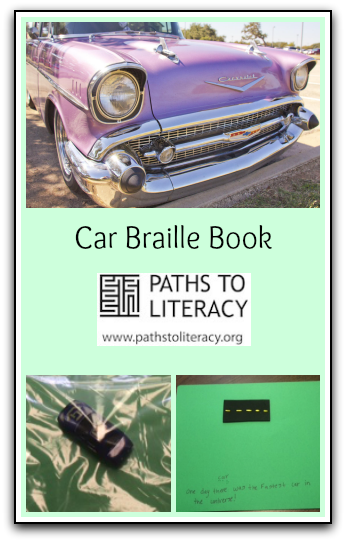
This is a great book I made with my preschool braille learner. It is perfect for teaching the "left to right" concept. Next time I make this book, I want to have the road go all the way across the page.
Materials:
You can get creative with these materials, but this is what I used.
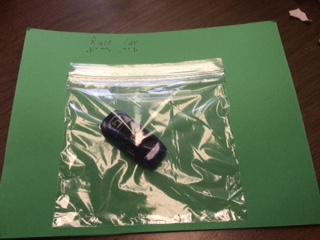
- A toy car
- Plastic baggies
- Card Stock (Full 8.5 x 11 Page for this book)
- Black sticky back foam sheets cut into narrow pieces with yellow dotted lines puff painted on. Cut them wide enough for the car to "drive on" (mine was about 1.5 inches wide).
- Green sticky back felt for the "grass"
- Blue textured plastic sheets for the "water"
- Glue
- Brailler
- Stapler
Procedure:
- For this activity, I had the student create a story. I had him tell me his story first and I wrote it down.
- We went through and he decided which words he wanted to write on each page.
- He brailled his words on each page.
- I wrote the "content" of the story on each page and numbered the pages.
- He created his pictures using the tactile materials.
- On the title page, staple a plastic baggie on and put the car inside the baggie.
- Staple the braille pages together in the proper order.
- Have the student take the toy car out of the baggie and read their book, moving the car along the pages and acting the story out.
Variations:
- You could also write your own story and put the book together on your own before presenting to the child.
 |
 |
 |
 |
 |
 |
 |
 |
 |