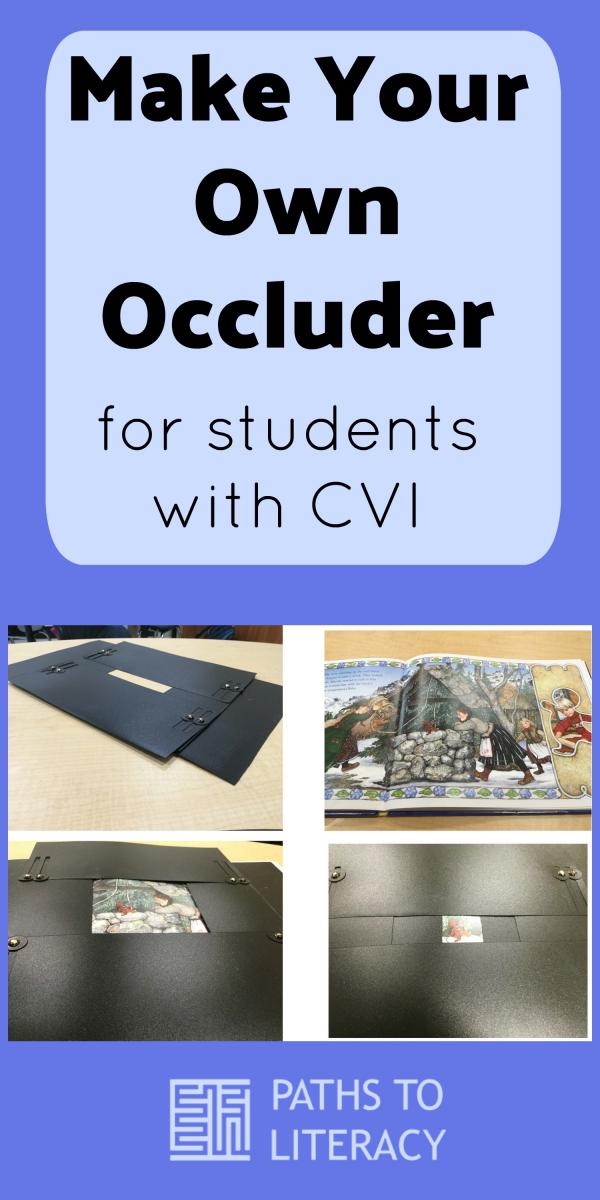
An Idea Comes to Life: The Occluder
Why and How
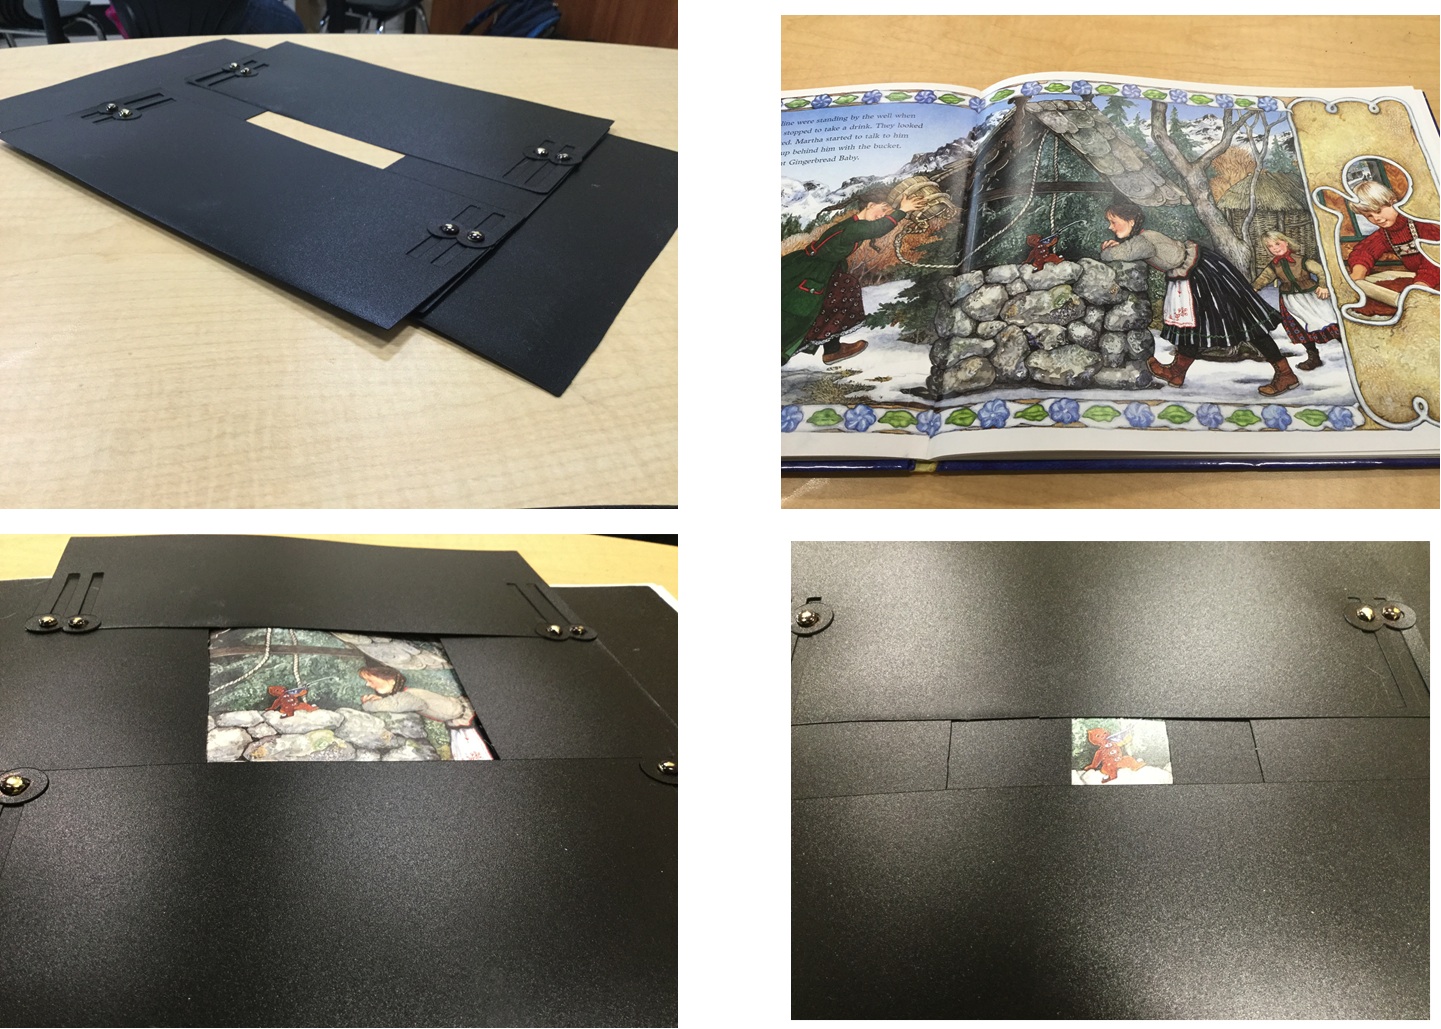
After working with a pre-school student with CVI (cortical visual impairment) I wanted to minimize the clutter in classroom picture books and isolate the visual target. I had tried making a “window” in a piece of cardstock or using two L shaped pieces to converge to highlight the target. The window was sometimes too big or small, so I would have to have multiple window papers and the L shape didn’t cover all of the complex area. I wanted something I could adjust, so that I could use it on nearly any page. So I started experimenting with something that would adjust. My first occluder only had one track on each side. The brads would come out of the tracks. The length of the tracks extended beyond the main base and left long windows that could be visually distracting.

Double tracks and some type of washer between the tracks and the brads were suggested. I adjusted the tracks so that they didn’t extend beyond the base. This made the opening size more limited, but still efficient for most opportunities. The actual size of the occluder was also limited by available material. I used black folders/notebooks for the materials. A standard hand-held hole punch only reaches in about ¾” so my furthest inside track would be ¾” in with the second ½” in. Based on those measurements I cut tracks using an exacto knife on each side of the four moveable pieces. I cut double circles and hole punched them in the middle to make washers to help keep the brads in the tracks. The largest opening is 4” x 5”. In order to mass produce it for our CVI Conference in Oregon I hand designed a basic pattern, scanned it, and imported it into Cricut design space. After lots of tweaking I was able to send half pieces of black plastic folders into the Cricut and have it cut the various parts. Some of the pre-cut holes had to be adjusted slightly with the hand hole punch.
What Makes It So Great
I love being able to adjust the opening to any size. We put this as part of our assessment make and take because it is so helpful for assessing complexity by starting with a larger complex picture and eventually occluding complex backgrounds until you get to the best occluded visual array. It is versatile for occluding extra background pictures and simplifying images for our CVI students.
My original idea blossomed due to feedback from my husband, Spencer Swapp, Saaron Putnam-Almaguer, and Scott Wall. Although the name suggestion for the “Moveable Thingy-Thingy” was suggested we have still kept it as just the occluder. It might be something to talk to APH about or if you don’t experiment and try your own hand at it, maybe we can get something on a site such as teachers pay teachers come summer.
Putting It Together


. We colored the brads with a permanent black pen and clipped the ends of the shiny gold brads that might stick out. You are then set to adjust and occlude.")


.")