Using Task Analysis to Promote Independence
My son Liam (age 8, deafblind, braille reader) has always loved to help me in the kitchen. When he was younger I started out with small things, like putting dishes away from the dishwasher that were at his level or I would let him put his fish sticks in the pan. As he got older, I slowly added to his list of responsibilities. For example, I wanted to teach him to cook broccoli in the microwave. I began by letting him push the button on the microwave to start it (our microwave is labeled in braille). Then eventually I let him get the broccoli out of the freezer and also get the bowl to put it in. (He now initiates these many steps on his own, as well as with other similar types of tasks.) Once he was able to do all of this, I taught him how to put water in the bowl and carefully carry it from the kitchen sink to the microwave. He is now able to do every step by himself.
Using Task Analysis at Home
This process of breaking down an activity into individual steps is known as "task analysis". To do this, you look at whatever activity or "task" you would like your child to accomplish, and then you make a list of all of the smaller steps that are involved. This is a very helpful technique for teaching, and it makes the task manageable for both the child and the teacher or parent. In this way, there is minimal frustration, and the child can feel a sense of pride as he or she is able to do each part of something independently. So, in the above example with the broccoli, I didn't just ask Liam to do the whole thing at once. Instead, I broke the whole process of cooking it in the microwave into many small steps, and just asked him to do one part of the whole process. Then, as he learned each part, he was able to do multiple steps with increasing independence until, finally, he was able to do the whole thing by himself.
More Ideas for Breaking Down the Steps in an Activity
I used this same process with his cereal in the morning. He now is able to get breakfast by himself in the morning...but he did not get to this point overnight. It was a lot of purposeful little lessons, one step at a time, that allowed him to complete the task successfully and independently. Liam is so eager to do things himself that it is hard to keep up with him! I always need to think of the "next" step for supporting his independence with tasks.
Making Playdough Using Measuring Cups
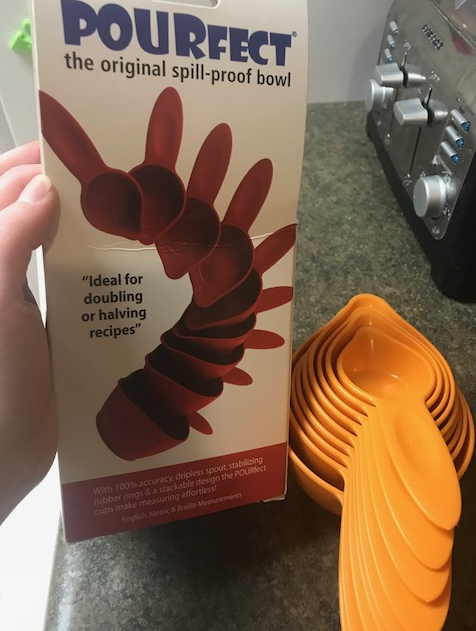
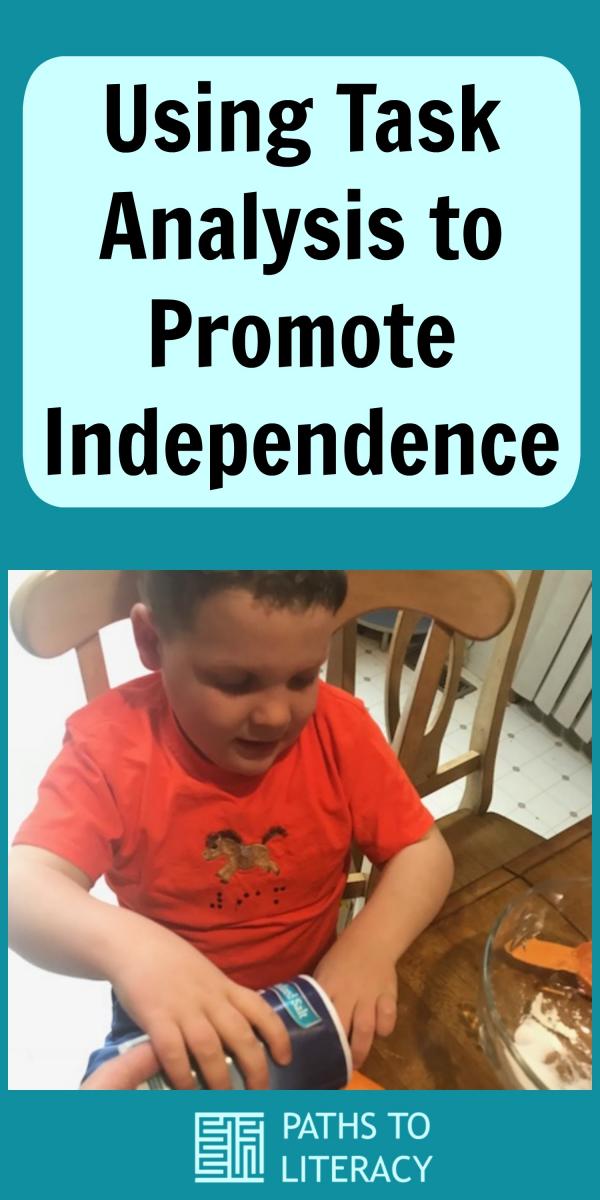
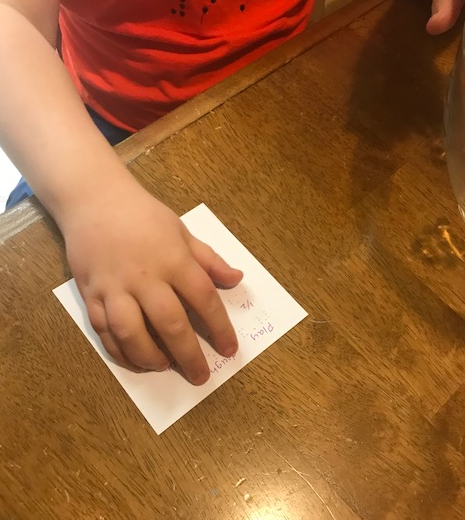
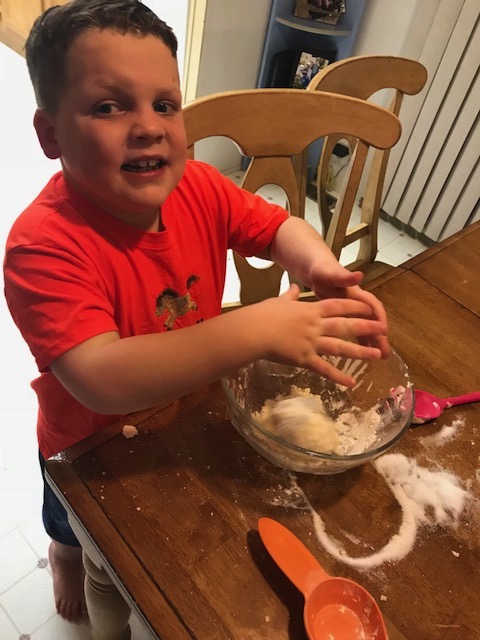
This leads us to Liam making his own playdough (with help from mom). Lately, he has been helping me make things that require measuring -- most recently...pancakes! That led me to buying him measuring cups that were in braille. I wanted Liam to be able to read a recipe card, pay attention to simple instructions and create playdough using his new measuring cups. Below I created a list of steps used for creating playdough with my son. It was fun to see how the years of "baby steps" that prepared him for a task such of this. He was very proud as we worked together to make his playdough.
Materials:
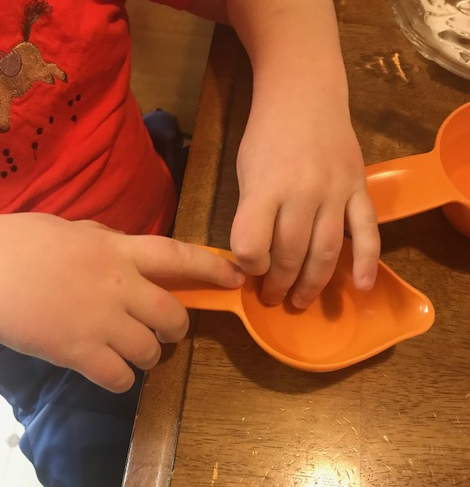
- Measuring cups labeled in braille. The cups can be labeled or you can mark them yourself. I bought ours online.
-
Recipe card in braille (this could also be in print, or pictures of tactile symbols, depending on the needs of your child/student)
-
Playdough
- 1/2 cup salt
- 1/4 cup water
- 1 cup flour
-
Playdough
- Mixing bowl and spoon
- Flour
- Salt
- Water
Task analysis: Breaking down the process into simple steps
The great thing about a "task analysis" list is that you can look at the steps, before you begin an activity, and see if your child/student is able to do each step with little to no help. If they are not, you are able to "pull" one of the skills out from the list and work on that in isolation. You can do this for any task that you want your child to complete and create your "next step" goals from the list!
Making Homemade Playdough
- Read the recipe together. Discuss what you will be making together.
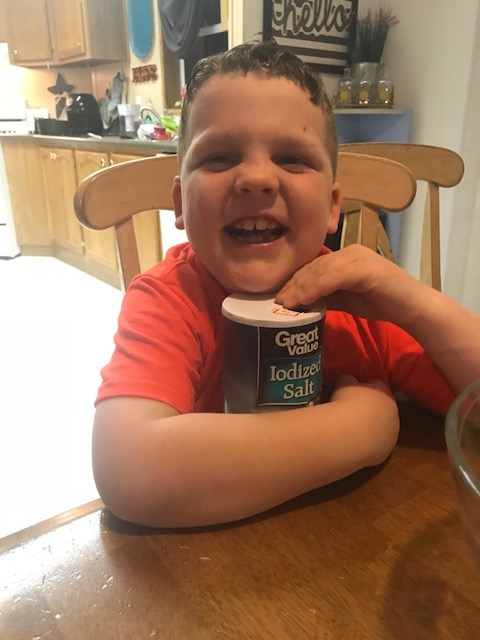
- Gather the materials and place them on the table. Take time to feel, explore and name each item: water, flour and salt.
- Grab a large mixing bowl together and a spoon and place them on the table with the materials.
- Introduce the measuring cups and read them together.
- Go back to the recipe and read it again.
- Discuss what needs to happen to complete the first step -- Measure 1 cup of flour.
- Repeat the steps above for the salt and the water.
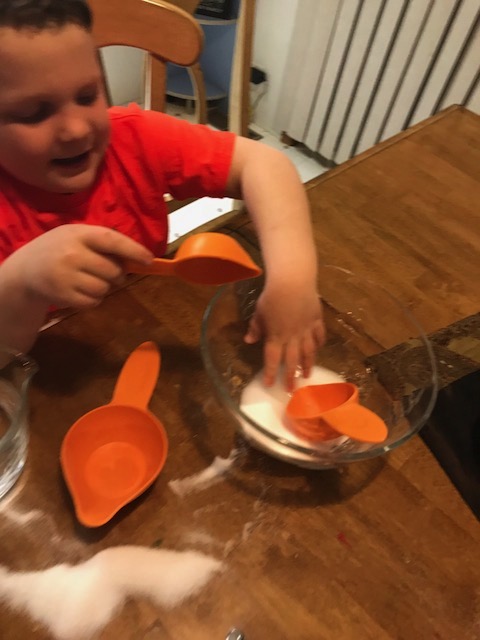
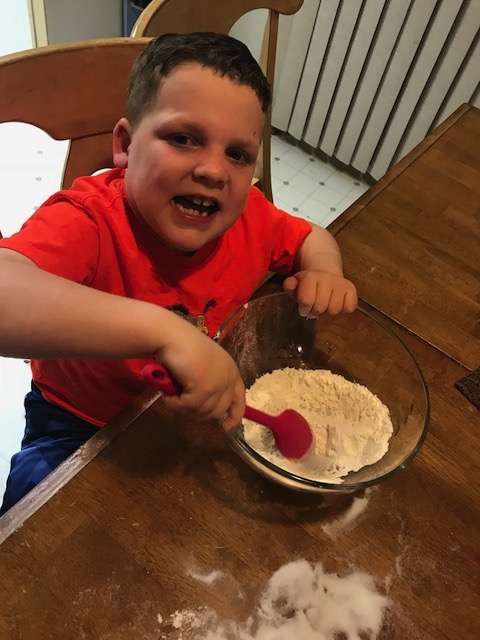
- Stir the ingredients for the dough together as best you can.
- Put the spoon down and mash the dough together with your hands (your hands will get very sticky; Liam absolutely hated this part).
- If the dough is to sticky and wet, add more flour. If the dough is not holding together add a little more salt or water.
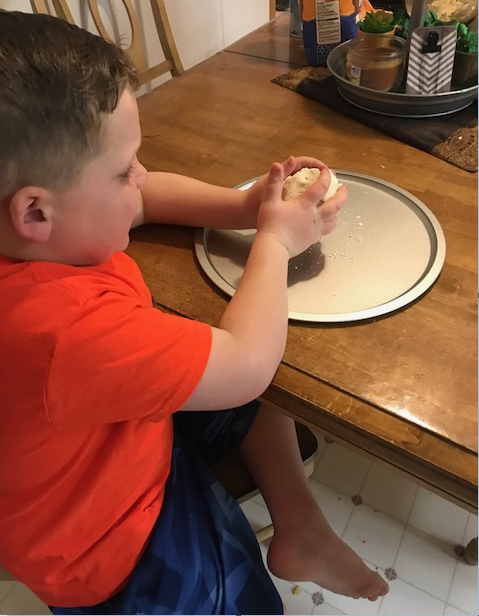
- Form the dough into a ball.
Some Guiding Questions:
- How much flour do we need?
- Can you find the cup labeled "1 cup"?
- How will you pour the flour?
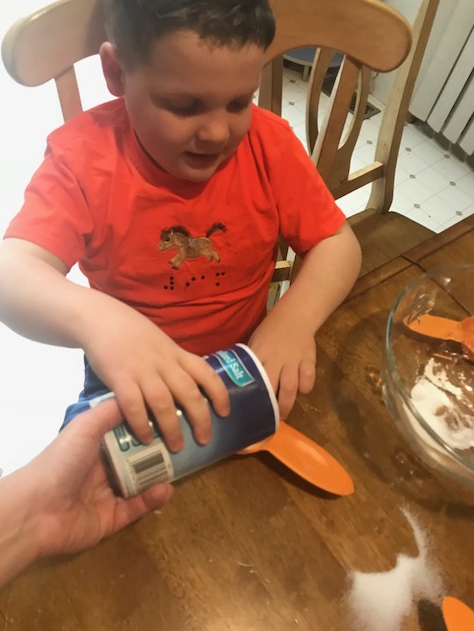
- The cup needs to be full and flat across the top of the cup, how will you know it's full? (Liam held the cup with one hand and poured the flour with his other hand. He kept one finger inside the measuring cup so that he could feel when it was full. I had to help him pour since the flour was heavy. He loved this part!)
- What do you do if it spills?
This activity was a great way to promote independent living skills, as well as to practice braille reading, measuring, and fine motor skills, such as pouring and stirring. We both had a lot of fun in the process!




Comments
Task Analysis