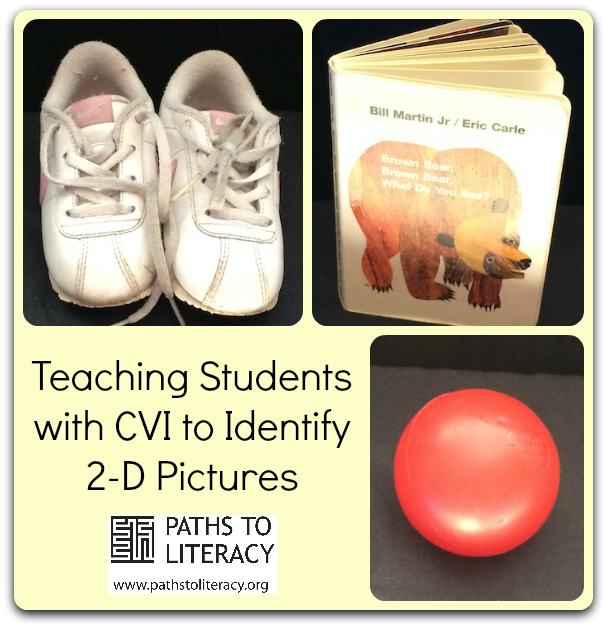
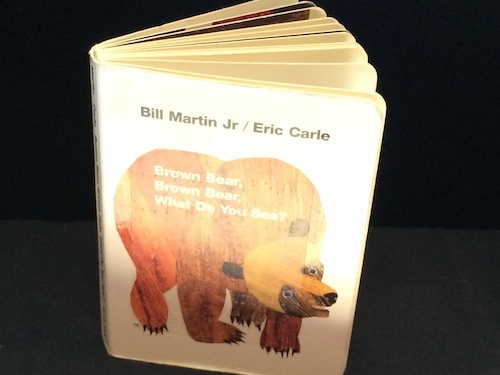
 After students with CVI (Cortical Visual Impairment) have learned to view and identify real objects, they are ready to learn to identify two-dimensional pictures. It is essential to recognize the differences in a student’s visual skill set before you begin. Specifically, the student may be beginning to look at bold, high contrast pictures in a book, but they are probably not identifying the pictures. Hopefully when students are participating in literacy activities they are exploring story box items and looking at the corresponding picture in the book. However, it is difficult to find books with clear, large pictures that match the real objects. This is why it important to use the story box items. When it is time to teach students how to identify pictures in a book, the activity should be different than typical story box literacy activities.
Assessment:
To determine if a student is ready to identify 2D pictures, observe how they are using their vision. If they are fixating on a 2D picture for intervals lasting for several seconds, then they may very well be ready. When a student is very interested visually in books, then they are definitely ready to work on picture identification. Remember that many children with CVI may not appear to look directly at things, and may be using their peripheral vision to look at something.
Preparation:
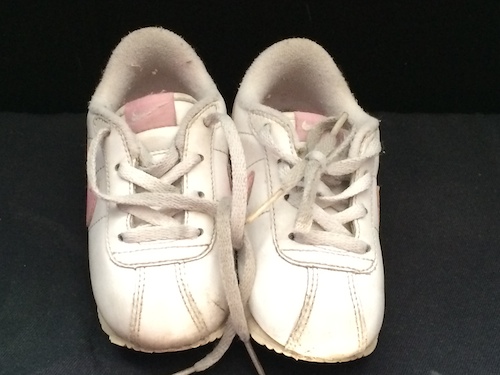
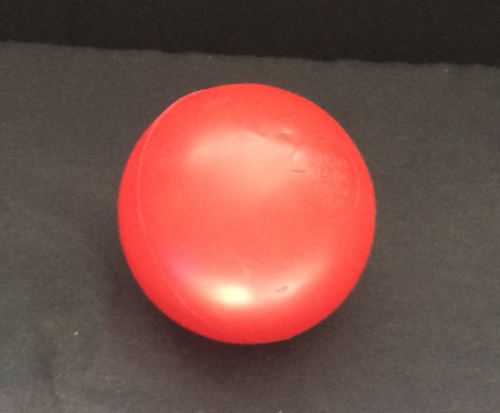
To begin teaching picture identification, select several (between 2-5) objects that the student is familiar with and easily identifies. Choose meaningful and purposeful objects, such as their favorite toys, cup, spoon, ball, book etc. Cut up pieces of black foam, invisiboard, or black poster board to “mount” the object. Take pictures of the real objects and mount them also. Now your materials are ready for your activities. Materials can also be prepared to be used within a calendar system.
Pairing:
Before you begin the activity, have the object and the black backing. If you are about to play ball, touch, explore and identify the ball. Then put the ball on the backing, touch and explore it on the board. Give the student ample time to visually locate, and look at the ball alone and against the board. Play with the ball for a few minutes, and then again look at it on the board. Repeat this at least twice during the activity. When you stop to look at the board, communicate with the student. You can ask, “Would you like to kick the ball or throw the ball?” Be patient with the activity. The student may or may not look at the card. Eventually the student will look, gradually increasing their fixation. The student may reduce the processing time needed to identify the object. Once you have established that they can identify the object on the card, it is time to pair the object card with the picture card. Continue as you did before, showing the object card and the picture card before you engage in the activity.
Lesson Planning:
Embed the activity within your lesson plan. When the activity is fun and meaningful, the student will enjoy learning (and possibly learn more quickly). Choose one or two objects to start with. Look for opportunities throughout the day to use the objects. For example, if you are teaching the student to recognize a ball, use it when it is time to play ball. If the student is ready, focus on two objects during the day.
Supplemental Activities:
As the student learns to identify pictures, you can make him/her a vocabulary book or story. Glue one picture on each page and either bind it or put it in a notebook. You can even write a sentence or two about each object. Include your student in this activity and encourage as much participation as possible. Sample: You are writing a sentence about a favorite toy drum. You can ask the student questions about the drum to help you format your sentence. “Alexis, do you like to play the drum with your hands or your feet? Which song do you like to sing?” Your student may answer by moving their hands or feet, vocalizing, or using a voice output device. Then write the sentence with your student sitting there (using print or braille). The text would read “Alexis plays the drum with her hands. She sings ‘Ocean Drum’ while playing.” Each page in the book can be just about the object or there can be an overall theme to the story. A common theme is "My School Day". The pages would reflect the student’s activities. The text would read “I play the drum during music. At PE I kick the ball to my friends. During art I paint with my paintbrush.” Again, involve the student in writing the story. Keep the book in your literacy center for additional review.
Another technique is to create a book with an object that can be moved from page to page. For example, one year when my class read "The Very Hungry Caterpillar", we made a moveable “caterpillar” from a pipe cleaner. On each page, we could Velcro the caterpillar to the page. This allowed the student to manipulate and move the object, and then view it against a solid background.
School-Home Connection:
Share the book with the student’s family. Explain the purpose behind the book and the process you took to teach picture identification. Either send the book home with the student, or encourage the family to make one for home. Sometimes it is easier for the family if you send home the materials (such as blank pages bound together). Students can bring the books in as part of show and tell, or simply to share with you.
Evaluation:
Some students may work on the same two picture identification for the majority of the school year. Evaluate whether the student needs the repeated opportunities each day, or if your strategy/technique needs adjustment. After working on the activity for a few weeks, determine if they can identify the picture. Show them two pictures and tell your student, “It is time for art. Find the paintbrush”. When they look at (and or reach for) the correct picture consistently, you can feel confident they have learned to identify that picture. Continue teaching meaningful pictures with real objects. Eventually, the student may be ready to identify more abstract pictures.
 After students with CVI (Cortical Visual Impairment) have learned to view and identify real objects, they are ready to learn to identify two-dimensional pictures. It is essential to recognize the differences in a student’s visual skill set before you begin. Specifically, the student may be beginning to look at bold, high contrast pictures in a book, but they are probably not identifying the pictures. Hopefully when students are participating in literacy activities they are exploring story box items and looking at the corresponding picture in the book. However, it is difficult to find books with clear, large pictures that match the real objects. This is why it important to use the story box items. When it is time to teach students how to identify pictures in a book, the activity should be different than typical story box literacy activities.



Comments
Clear Photographs of Familiar Objects