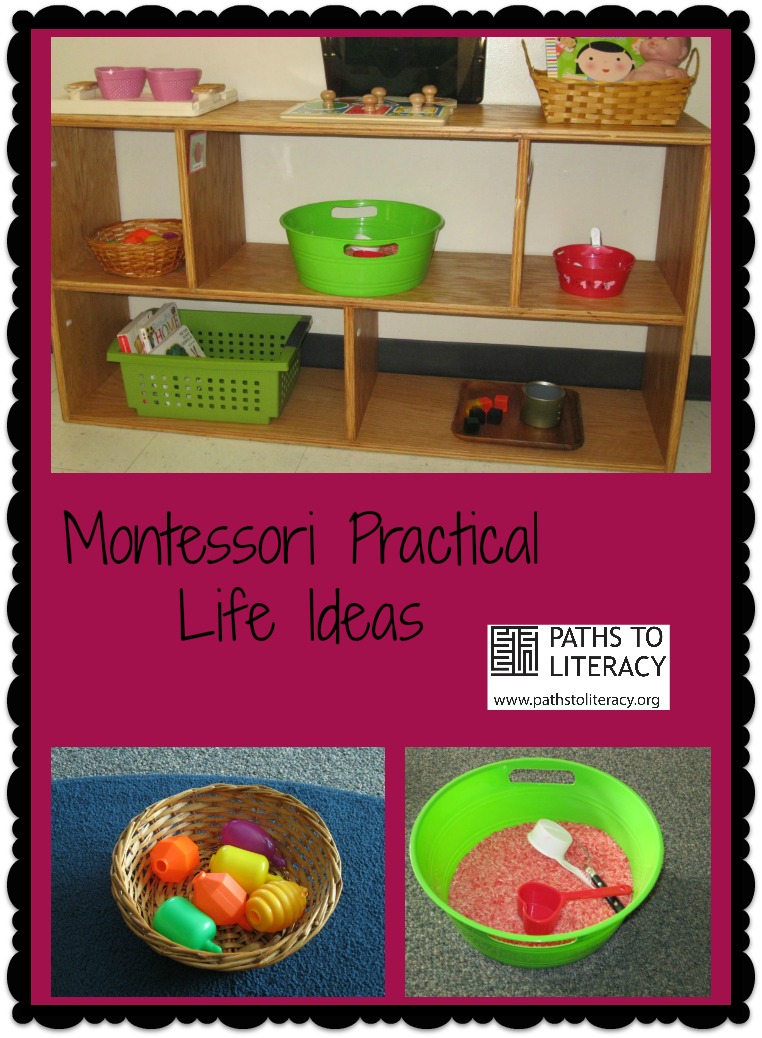
Montessori Practical Life Activities to Try at Home
Submitted by Katie Armstrong on Mar 09, 2014
 Recently I submitted a post called Montessori Activities to Promote Pre-Literacy Skills for Tactual Learners. This post was about fun Montessori activities, how to get started creating a few activities, and how they reinforce beginning braille readiness skills. As a follow up, I would like to share ideas and resources on how to easily create these activities and set up a work space which will promote independence at home.
Why Montessori practical life activities?
So, how can these activities help my child with a visual impairment?? I described in the post above the pre-literacy skills, but these activities also promote:
- Concentration
- Coordination
- Practicing control of movements
- Fosters independence
(Source Montessori Practical Life Curriculum)
One of the most important things that we teach our children with visual impairments are encompassed and described in the Expanded Core Curriculum. These activities work on many of these skills, as well as build in the pre-requisite skills needed for braille readiness. I have found that these activities are challenging for our kids, but they have proven to be beneficial in teaching these important and necessary skills… and the kids LOVE them!!
How can parents get started at home?
All children are at different levels of skills and have different interest, which is important to remember. When you are initially choosing work and starting this system, think about your child and what they like, what they are interested in and what they can be independent at. You can start this process using all things that you already have. Creating the space and teaching the process is the first step. The goal is to create independence and predictability.
Initially you do not need to create any work trays that I described in the article above, or that I describe below. You can simply use toys/books that your child already has and enjoys… start with teaching the process and then when you have success up the ante and create some new work.
Even if you choose to start with toys/books like I just mentioned, make sure that you read the section below about creating the work. You will still want to use some of these suggestions and tips to help your child be successful.
Setting up a work space
- Find an area that you can dedicate to your child and there materials. You will need space for a shelf or low counter of some sort as well as a place for your child to sit and work, either a child sized table or mat on the floor.
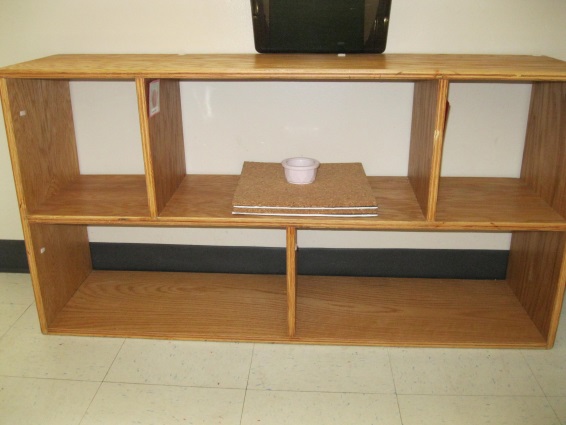
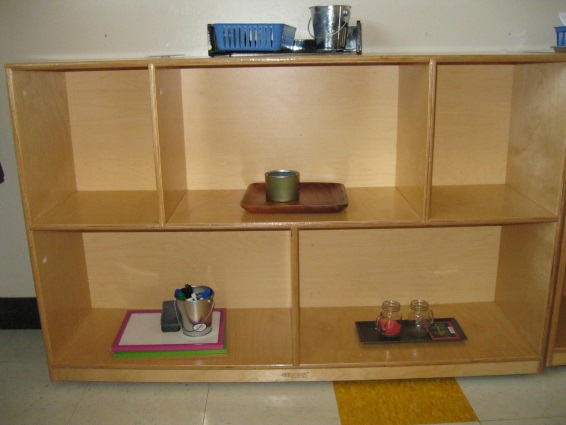
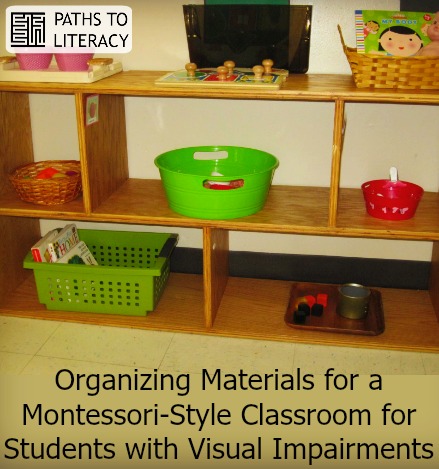
- Choose a shelf/cabinet system. This needs to be a shelf that is low enough that your child can reach the items. You can use something taller and simply dedicate the lower shelves to your child. It’s up to you!! Here are a couple of pictures as ideas.
 |
 |
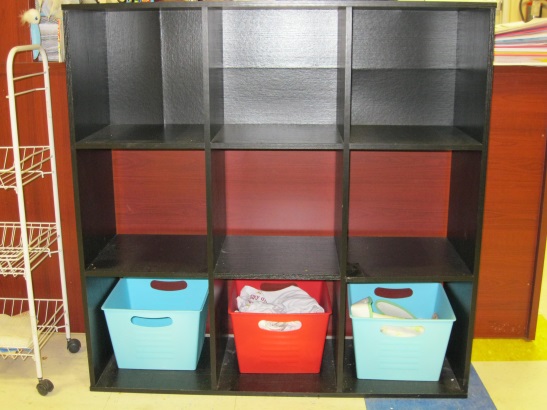 |
| This shelf was made for me, so if you have someone handy it can be any height and width. | This is a commercially bought shelf from a teaching supplies store. | This is from Target or Walmart and similar stores. They are a great affordable option and they come in a few different colors and heights. The one shown is a little tall, but they have one with 6 cubbies that works well for younger kids. |
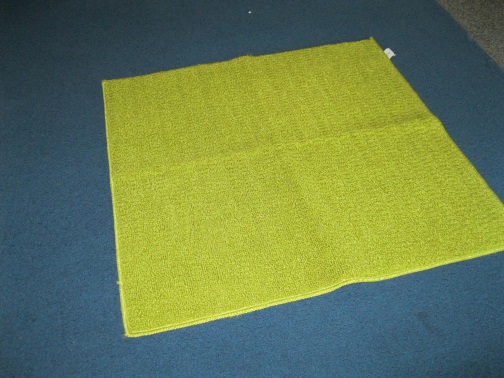
- Create a space for your child to sit and work. If you have a child size table that works for your child great, otherwise find a small rug or mat to define their work space and keep their materials confined and manageable. Be sure to choose something that works well with your child’s visual impairment, think of contrast needs and visual clutter, as well as any physical needs for positioning
 |
 |
 |
|
Simple solid colored area rug to use as a work mat on the floor, this one came from IKEA I believe, but you can get a rug anywhere!! |
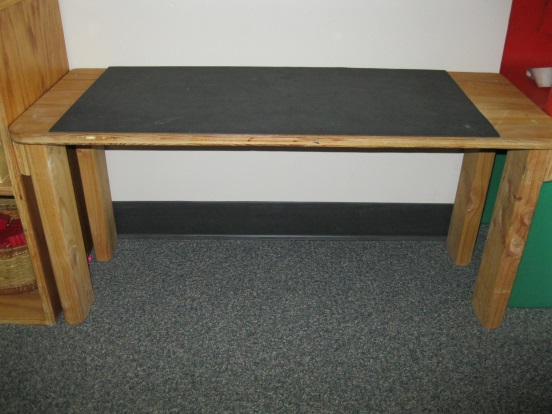
This is a table that was custom-made. Again you would need someone handy, but you can get any height and width that you want. |
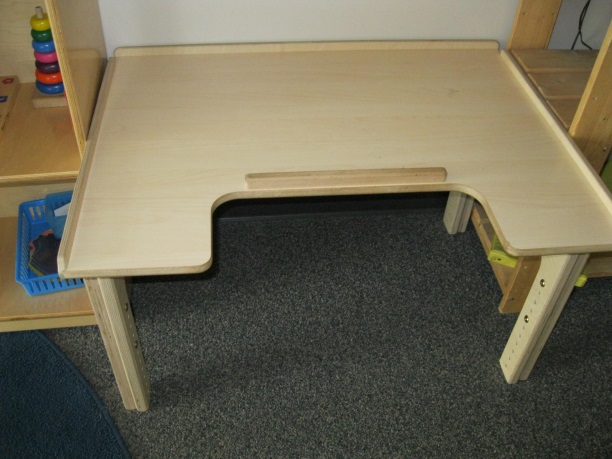
This is commercially bought, but a very nice table, it adjusts in height as children grow and it has an easily adjustable slant table for reading and writing tasks. This is from Flaghouse,
|

Process
Once you have created and set up a space and chosen a couple activities to start with, show your child the space and introduce one activity modeling the entire process start to finish.
- Choose the work that you would like to do.
- Carry the work to the work space (further down I will discuss creating the activities, but you will want the child to be able to carry the work independently).
- Set the tray/basket down on the left side of the workspace or center depending on the type of work (if you will be taking the work out of the basket/tray or if you will complete the activity on the tray).
- Perform the activity start to finish and then take it apart, or set it back up so it’s ready to do again or for the next time.
- Carry the work back to the shelf.
- Get another work and start process over, or be done.
Creating Some Work Activities


- Choose an activity/skill to start with.
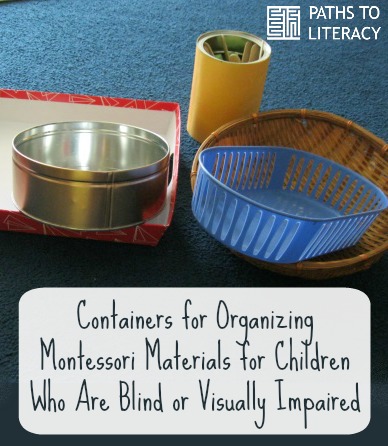
- You will need a work tray or basket of some sort to keep all materials together for your child. This helps them know what they need for a work, and that all the materials are ready and organized so that they can be successful with the work that they chose.
-
Make sure your basket/work tray is something that your child can carry independently,
-
Collect all the materials, and place them on the tray neatly so that they can be easily found and that they remain in a consistent location. Try not to over clutter the tray or it will be more difficult.
-
Again, keep in mind your child’s visual impairment. Think about clutter and contrast. Do you have white materials on a white tray?? Put a contrasting piece of construction paper on the bottom of the tray and they will see the work better.

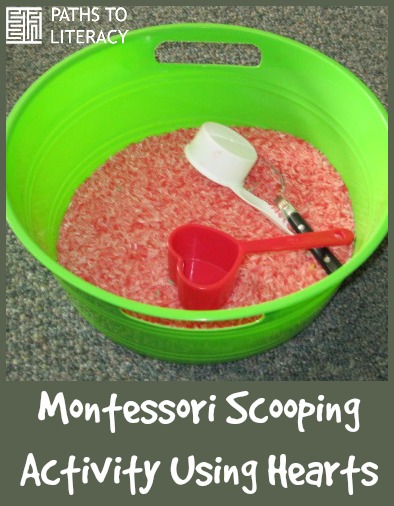
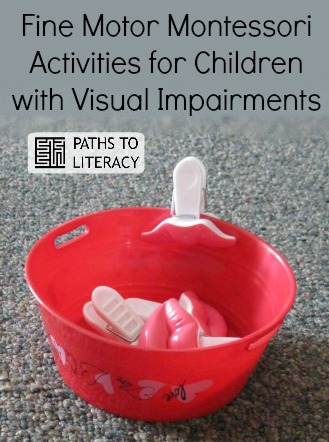
. This is a simple transfer activity, the child takes the hearts from the bowl on the left and transfers them to the bowl on the right.")
Getting Started
- Create some very basic activities to get your child started. I would recommend choosing activities that will keep your child’s interest, but are not too challenging to start with. Initially you will want to teach the process of using the materials and the space appropriately and not focus on teaching a new skill.
- Only set out a couple of activities at a time until your child demonstrates an understanding in the process and use of the materials.
- When you place the work on the shelf always put them in the same location so that your child can find them, this increases independence and predictability.
- Introduce the process and the works you have chosen
Let your child have fun!


Resources/Finding Ideas to Get Started
- Google or Pinterest!!! Just search for “Montessori at home”, or “Montessori work trays”
- Try specific types of activities “Montessori color activities” “Montessori toddler activities” (toddler activities I find to be totally appropriate for my preschool age kids) and so on… search away and you will find many websites from moms using Montessori materials at home!!
- Try searching for themes “Montessori Spring activities” and so on.

Comments
Great ideas to share
Montessori Practical Life For the Visually Impaired