Making Object Books with APH Book Builder Kits to Accompany Traditional Print Stories
My students with multiple disabilities love being able to hold and manipulate three-dimensional objects. I’ve found that even my students with the best vision who are able to interpret pictures are much more motivated by objects than they are by pictures. Additionally, we know that children who are blind or visually impaired need hands-on experience with real objects in order to support concept development. So, when I read stories to my students, I try to always include the use of real objects to illustrate key words in the story.
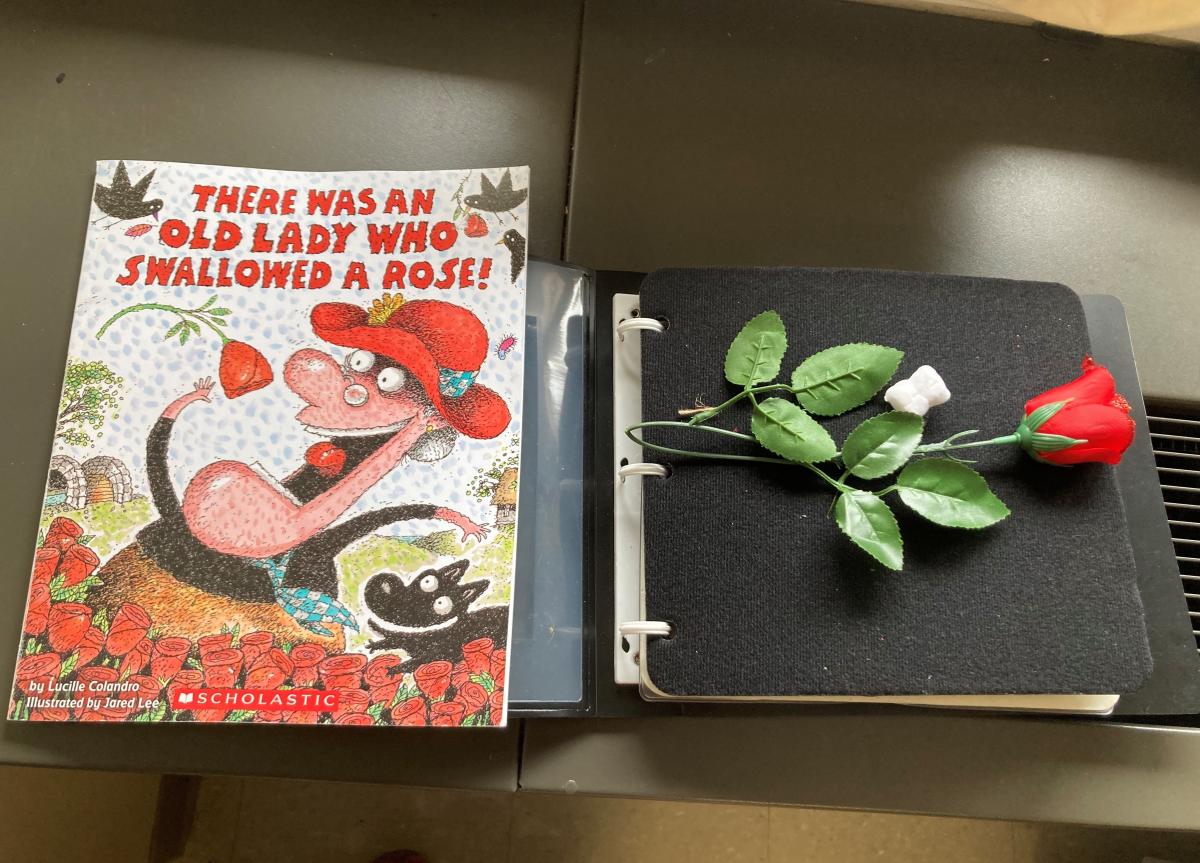
The way I use objects with stories varies depending on the story and its vocabulary. However, one way I have started to use objects is via the APH Book Builder Kits, which are available in yellow or black to meet the needs of students with different visual needs. The kits come with different styles of page inserts which can be mixed and matched to the materials you are using.
I recently used the APH Book Builder Kits to accompany the book, There Was an Old Lady Who Swallowed a Rose! by Lucille Colandro, and I discovered there were many benefits to this approach, which I will explain in this post in addition to sharing how I created the books themselves.
As background information, I am currently a TVI working as the classroom teacher at a school for blind children. I usually read books to my students in a small-group setting. I read from the original print text and circulate amongst my students so they are able to see and/or feel the book, to which I often add tactile and/or visual adaptations.
Why Use Individual Object Books to Support a Teacher-Read Print Story?
For students with multiple disabilities who are still developing emerging literacy skills, supplying each student in a small group with a copy of the print text of a story is not practical or ideal. However, we want each student to gain hands-on experience with books!
Students can practice book handling skills such as page-turning, identifying the front and back, working from left-to-right, moving from top-to-bottom and more with their own key word object book.
Student engagement increases because students have individual books in front of them the whole time. They each have a book to handle and an object to explore the whole time.
Individual object books help the teacher explain key vocabulary concepts more efficiently. If you are working with more than one student, you don’t have to take an object around to each of them so they can examine it individually. They each have their own to explore while you talk about the properties and function of the object.
These books can support fine motor skill development and reinforce appropriate handling of materials. Students are not just listening, they are using their hands, which provides opportunities to develop other skills.
How to Create a Book of Objects to Accompany a Print Story
- Identify the key words you want the students to learn in the story. In There Was an Old Lady Who Swallowed a Rose! the key words are easy to identify: they are the objects the old lady swallows! The objects I included in our books were rose, lace, glitter, candy, jewel, heart, and card.

- Collect your objects. Determine if an object book is appropriate for the key words you want to focus on. For many of the stories I read with my students, the objects are too large or otherwise inappropriate for inclusion in a book. For example, this year we read The Snowy Day, and our key words included “wet socks” and “snow”, which would have been pretty challenging to put in these books—but may be possible with some creativity! In this example, we used a piece of glittery paper to represent the word glitter in order to make it an object the students could pull off the page and manipulate.
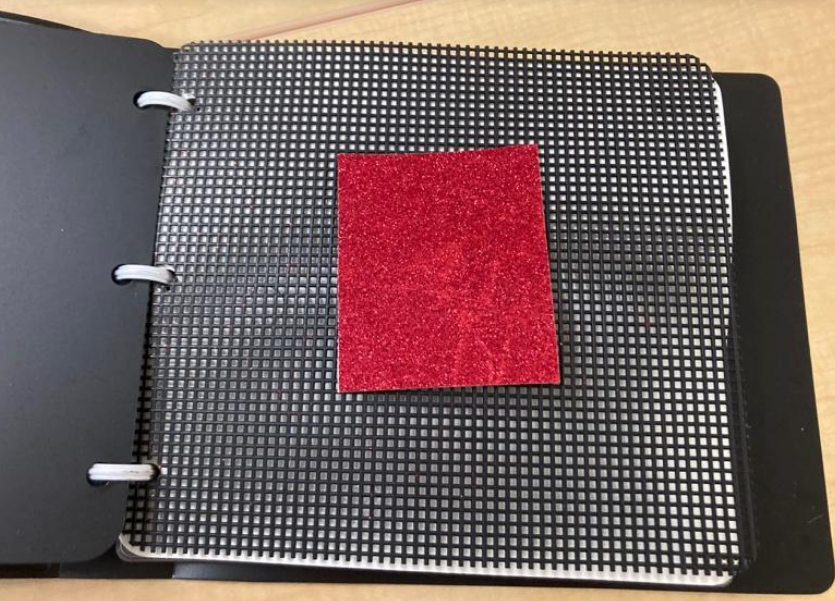
- Determine the visual needs of your students and plan accordingly. Most of my students have CVI (Cortical/Cerebral Visual Impairment) and benefit from a black background behind presented materials. However, one of my students has no functional vision so the background color wasn’t important for him.
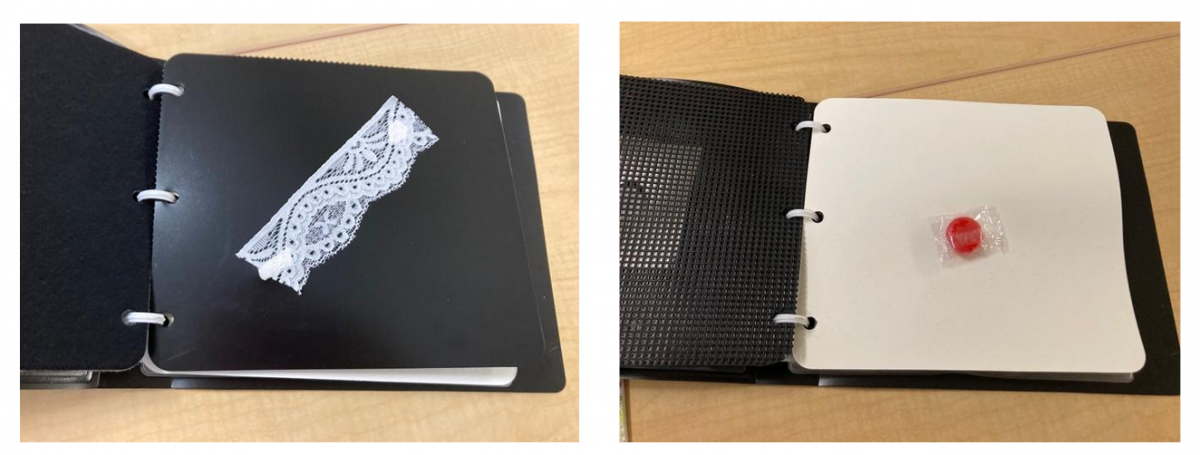
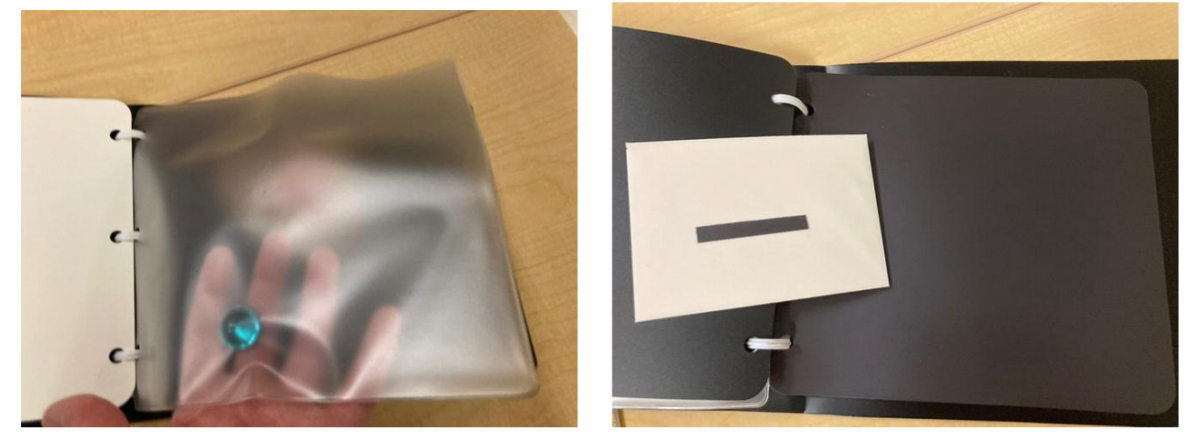
- Choose an appropriate method for securing your objects to the pages. The APH Book Builder Kits (Tactile version and CVI version) offer a variety of page styles to accommodate different methods of affixing materials. In this example, I used a combination of Velcro, sticky tack, magnets, and the slip cover to temporarily secure the items. You could use more permanent methods such as glue and zip ties, as well, but I wanted my students to be able to pull the objects off the page and interact with them.
Conclusion
I want to thank speech language pathologist Jenifer Ellenberg for introducing me to the There Was an Old Lady book series and for helping me to gather some of the materials for these object books. The example I used here, There Was an Old Lady Who Swallowed a Rose!, is a fun story to read around Valentine’s Day but many students will enjoy reading it or other books from the series any time. Happy reading!
