Beginning Middle End: Tactile Graphic Organizers
Submitted by Liamsmom on Oct 26, 2015
Begin With A Real Experience
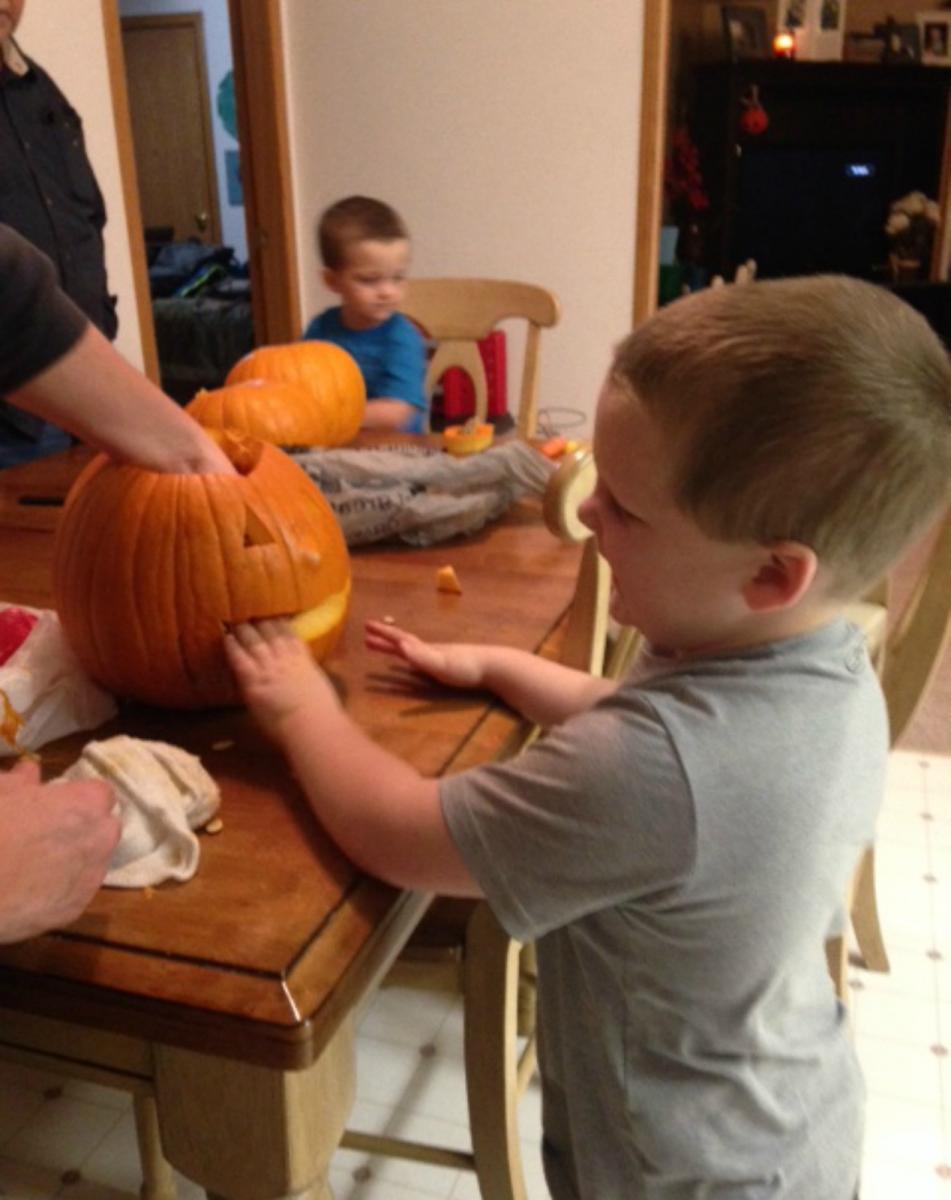
In order to understand a tactile representation, it's really important for kids who are blind or deafblind to begin with a real experience that allows them to touch, move, smell, taste, and really know first-hand what a concept is all about. We started by carving pumpkins for Halloween.

Use Tactile Graphic Organizers to Sequence Stories
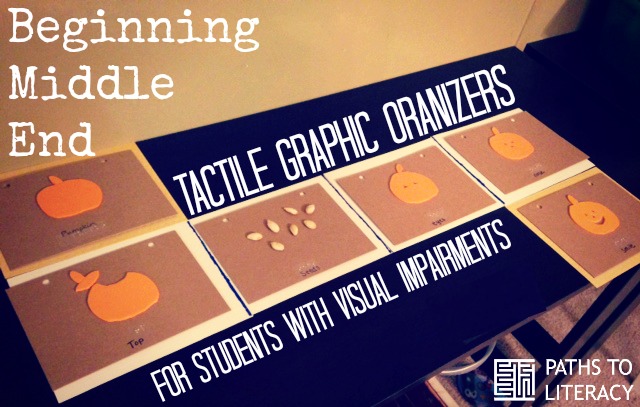
I have made my own goals at home to support work with sequencing stories. Liam's peers, who have typical vision, use graphic organizers to organize their thoughts and stories. I wanted to create organizers for Liam that were tactile. Before I worked on writing a story with Liam I wanted to teach Liam about beginning middle and end through "books". My goal was to read books with Liam that had clear beginning, middle, and ending, as well as sequencing order. We have been practicing reading the stories together until they become familiar. The books I chose for him are bound using rings where the pages can easily come apart, so we can organize them after we are finished reading. I have been using the words Beginning, Middle, last/end, next, then, first, second, third, etc. We place the pages of the stories onto the organizer together the first few times (over a period of a few days). Once he becomes comfortable with the idea and the story, he is learning to organize it independently and we then work on retelling.
Retell Experiences to Practice "Beginning", "Middle", "End" Vocabulary
Another way I've incorporated beginning-middle-end into our "practice" is using the vocabulary to retell experiences together. For example, this past weekend we went to a fall festival at our local petting farm. I had Liam describe our morning at the farm, prompting him with words such as first, then, next, then, last, etc. I then write (ideally using the brailler) what he tells me about his experience. We then in turn, put his farm story experience onto "book pages", add tactile graphics, and he can then "organize" his own written story on the same tactile graphic organizer he used before! This has been really exciting and motivating!
Examples of organizers:
Textured paper:
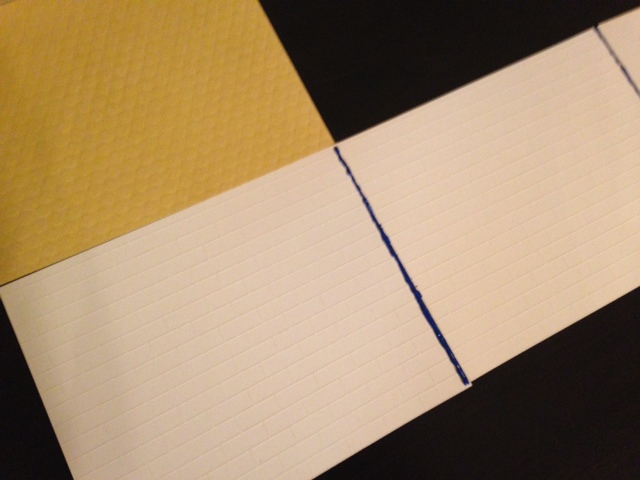
- I created a simple book (for the purpose of organizing) about our experience carving pumpkins. The graphic organizer I used for this book (and others that have the same sized pages) has textured paper. The beginning and ending have the same texture and the middle section has a different texture and the sections are divided by "puffy paint" lines. This organizer folds up neatly for easy storage.
- Another type of organizer uses linear canvas board taped together with sections divided by thin wooden sticks. This organizers also folds nicely for storage.
- You could also try veggie trays from the dollar store. These are great for organizing stories that use objects.
Modifications:
- This could be simplified using objects collected from an experience a student had. For example, if the child wanted to write or tell a story about going on a walk in their neighborhood, they could put a rock to represent walking down their rock driveway and then pieces of grass for when they went into their neighbors yard, etc.
- You could organize objects that are used in a child's story box.
Variations:

